
On winter solstice I felt it fitting to publish a seasons-end post on putting the beds … to bed. What kind of content could one possibly come up with in regards to the literal act of stopping gardening, you ask? Great question. Turns out, a decent amount. So here we are.
Aside from myself, the successes and failures of the plot, or any garden for that matter, derive mostly from four major categories:
- Sun ☀️
- Water 💦
- Soil 🥾
- Other 🪄
Sun is the most straightforward, and any beginner can grasp the concept of light = good. Of course, shade gardening is an entire wing of horticulture, but the concept is simple. Some plants like light all the time, some plants like partial shade, some plants wants 6-8 hours of sunlight a day, yadda-yadda-yadda ok got it. Sun works in absolutes and it’s simply a matter of no sun or yes sun.
Ever researched why your plant might be dying? The answer is you watered too much. The answer is also … you didn’t water it enough. Get it? Got it? Good. The nuances of moisture are a little murkier than the nuances of sun. Roots aren’t visible which makes it tricky to know when and for how long to water. There’s also the matter of how loose or compact the soil is and how much water it can retain to quench the thirst of it’s residents. Nonetheless, the subject of providing water to plants still has fairly straightforward rules (water them enough, but not too much) and navigating the learning curve gets faster with experience.
I’m jumping over the 3rd bullet point above for a minute to briefly touch on the last bullet point; “Other”. This simply captures anything NOT tied to the other three bullet points. Segments like pest and disease management, controlling foliage growth, the timing of planting and the timing of harvesting. These are deep dives themselves, but are not the focal point of this post.
Now we hop back to the third bullet; soil. Do plants need soil? Gardening methods like hydroponics or aeroponics would disagree. Soil itself is just a medium. Alas, ’tis a convenient medium that holds and transports nutrients to plants rather conveniently. The abundance and convenience of soil as a medium is why community garden plots aren’t a grid of fenced off 20’x20′ hydroponic pools. Soil though, is also extremely complex. From what it’s composed of and how it interacts with plant roots, to its biological activity and ability to break down nutrients, to its chemical properties and inorganic matter, to its variability driven by climate and region, to … well you get the idea.
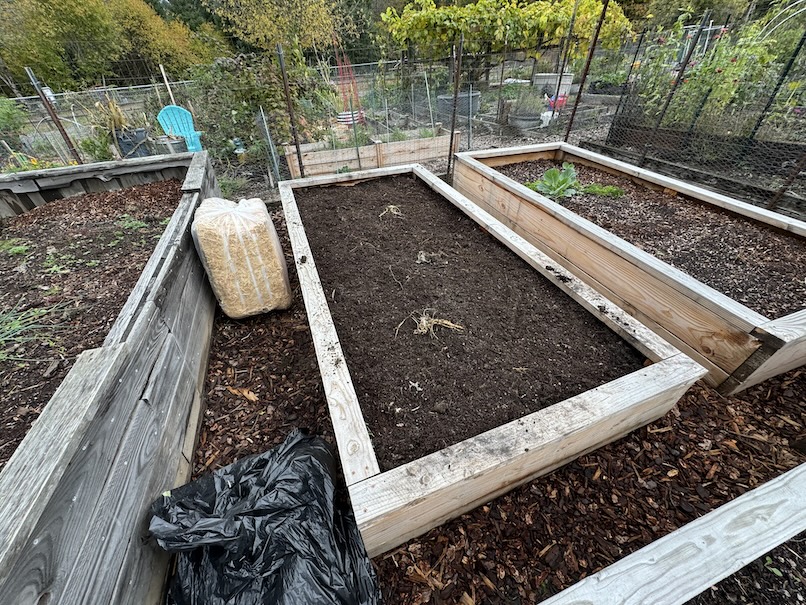
Since it’s the most complex and mysterious category of gardening, I’ve hung my hat on soil as the category of gardening worth investing the most time understanding and exploring. Plot 63P’s newly built raised beds are chock full of bagged and nutrient poor soil. It’s not ideal but it worked in a pinch. As you’ve seen me hint at in previous posts about composting, my goal is to remediate plot 63P’s poor soil situation over time through organic amendments and fertilizers. This fall, as part of the process in putting the beds to sleep, I partook in an amendment process that I feel confident will improving my soil over time, and I plan to continue this process and tweak it as the years progress. Hence, I feel it’s worth sharing it while it’s fresh in the ol’ trap. Let’s start from the major nutritional categories and work our way down to the trace categories of nutrients.
Nitrates – deficient ❌
This just in: It rains a lot in pacific northwest winters. More news at 11.
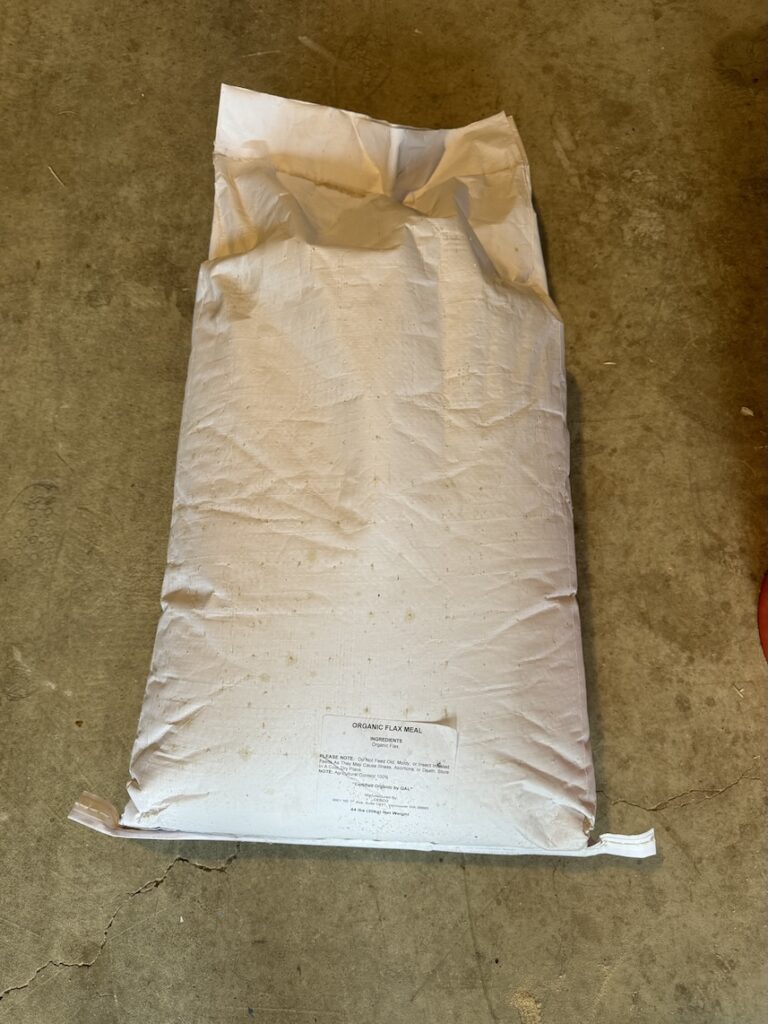
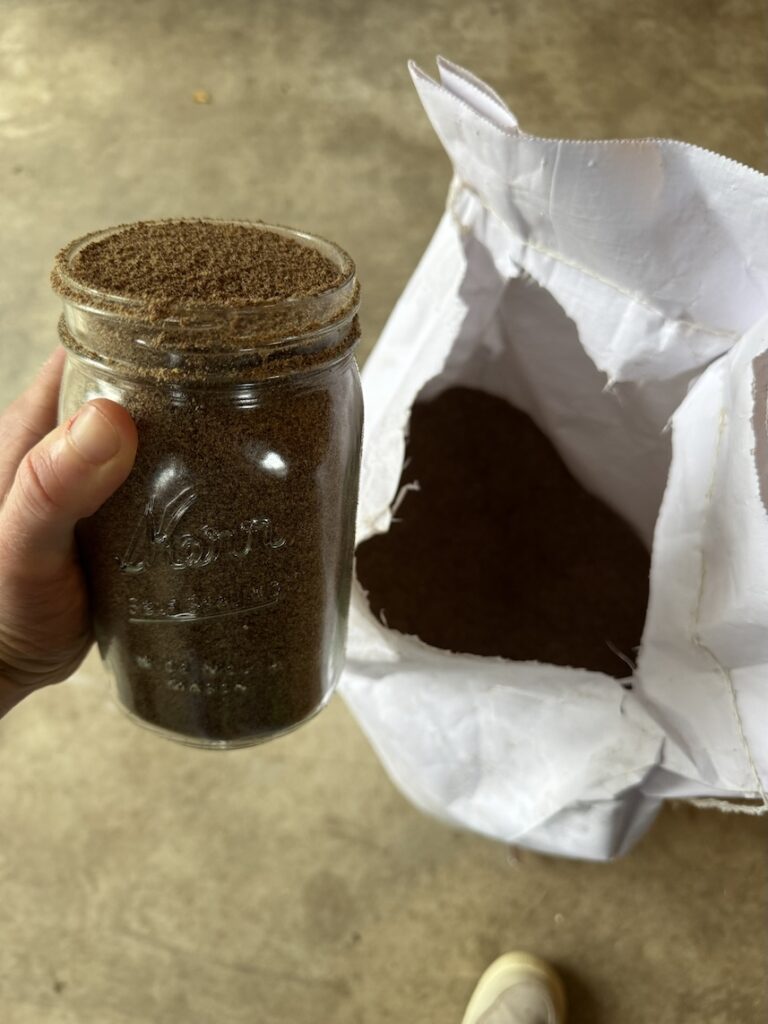
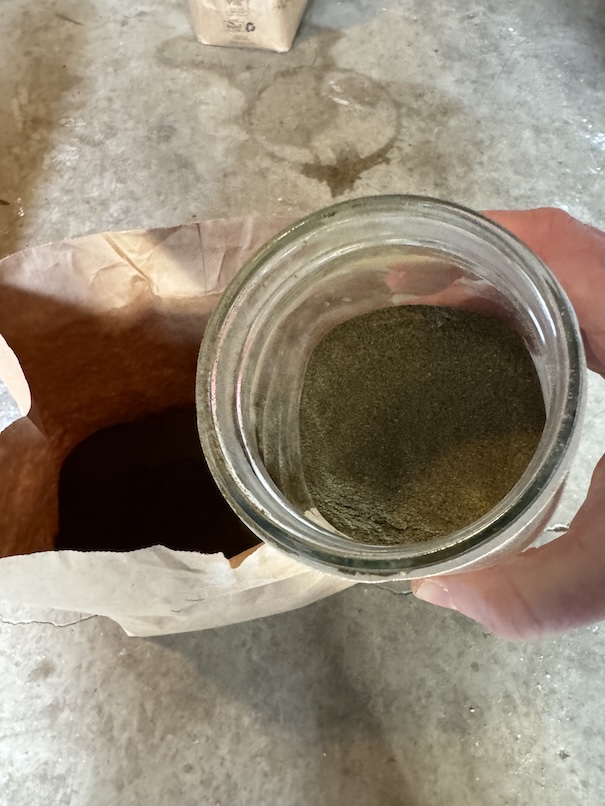
Rain is just a giant leach. It leaches nitrogen and nutrients from the dirt. On top of this, PNW soil leans acidic. This slows it’s release of nitrogen for plants to consume. Oilseed meals help mitigate this. Oilseed meals are residues left after extracting vegetable oil from canola, cotton, flax, soybean (etc) seeds and typically have an N-P-K ratio of 6-2-1. They encourage release of nitrogen during the decomposition of organic matter. Proteins also release nitrogen as they decompose, so the higher the protein content within an oilseed meal, the higher the nitrogen content released. This is the largest amendment by volumne in this fertilizer recipe.
Pro tip: While on the topic of nitrogen, amending soil with fish and/or blood meal helps release nitrogen better in chilly weather, making them great soil amendments in the spring (at least, in the pacific northwest) to give plants an initial boost of growth.
4 parts: Oilseed meal (flax)
Calcium – deficient ❌
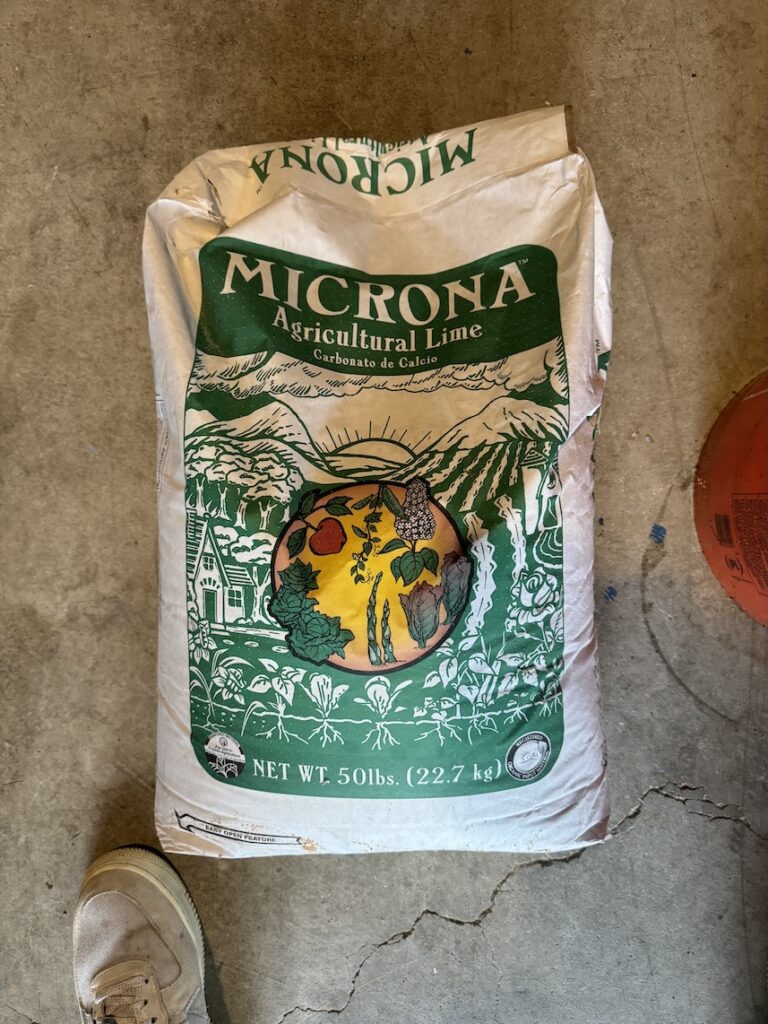
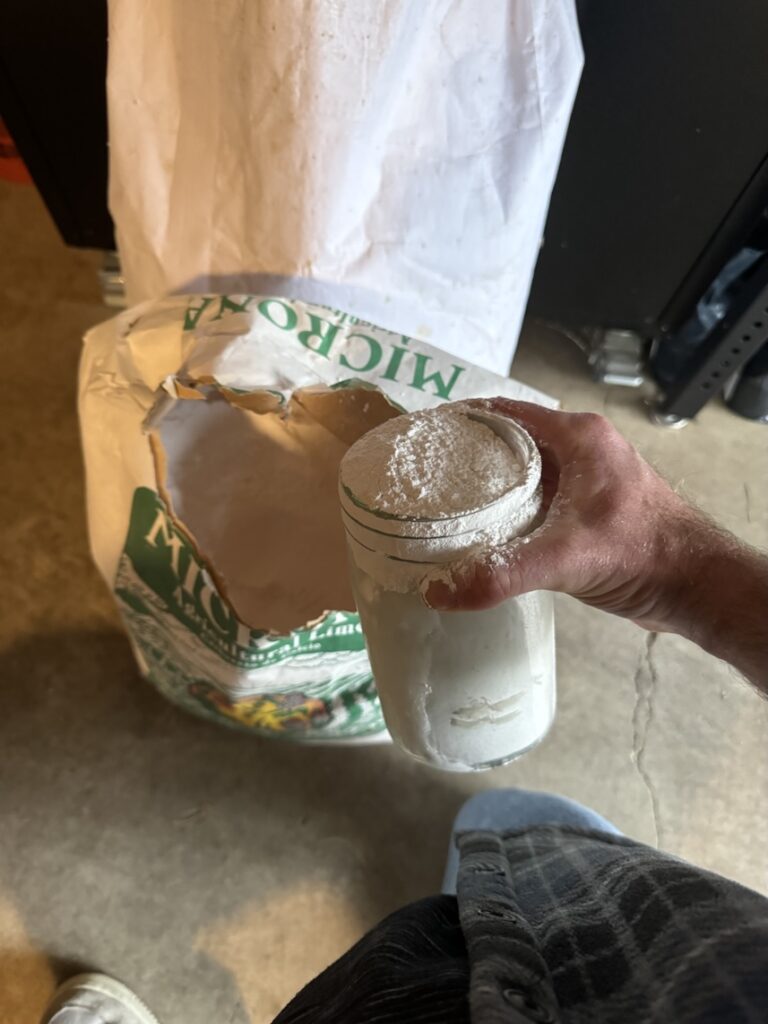
Along with having naturally acidic soil, the old cascade lava flows leave us with a natural soil deficiency of calcium in the area. These two problem birds can be solved with one agricultural lime … stone or “aglime”. Aglime is calcium carbonate rock. It’s preferable over dolomite lime because it does NOT include magnesium. Magnesium is already abundant in our dirt so adding more magnesium via dolomite lime will constrict clay soil particles further making soil tight, compacted and airless thus not great for aiding root penetration. This is the 2nd most abundant amendment I’m adding by volume.
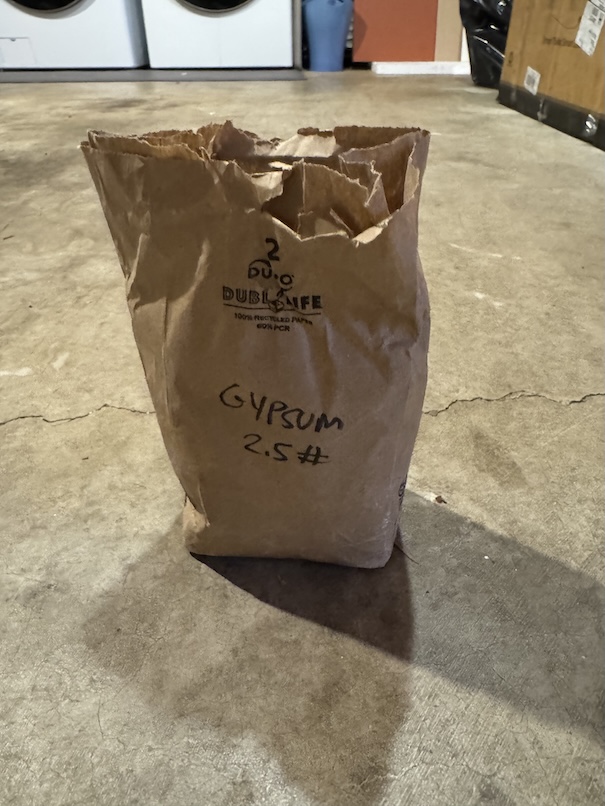
The Robin to aglime Batman is gypsum. Gypsum (calcium sulfate) also adds calcium with some sulfur to help neutralize the soil’s pH (less acidic) and helps to loosen it.
1/2 part: Lime
1/2 part: Gypsum

Potassium – abundant ✅
Those old cascade lava flows mentioned earlier didn’t just lead to deficiencies. They led to an abundance of potassium and magnesium. The river valleys like the Willamette, Umpqua and Santium, all the way to the coastal ranges contain a lot of andesite volcanic rock which are rich in these minerals. Excess potassium can result in crops with higher fiber and starch, but lower in protein and essential nutrients. Hence, potassium is not nearly as necessary as a soil amendment in the PNW generally. We already discussed how excess magnesium can negatively affect clay soils so we don’t want to add more of that. Furthermore, potassium is added elsewhere through organic matter (compost), so it’s a skipped ingredient when it comes to this homemade fertilizer.
Phosphates – deficient ❌
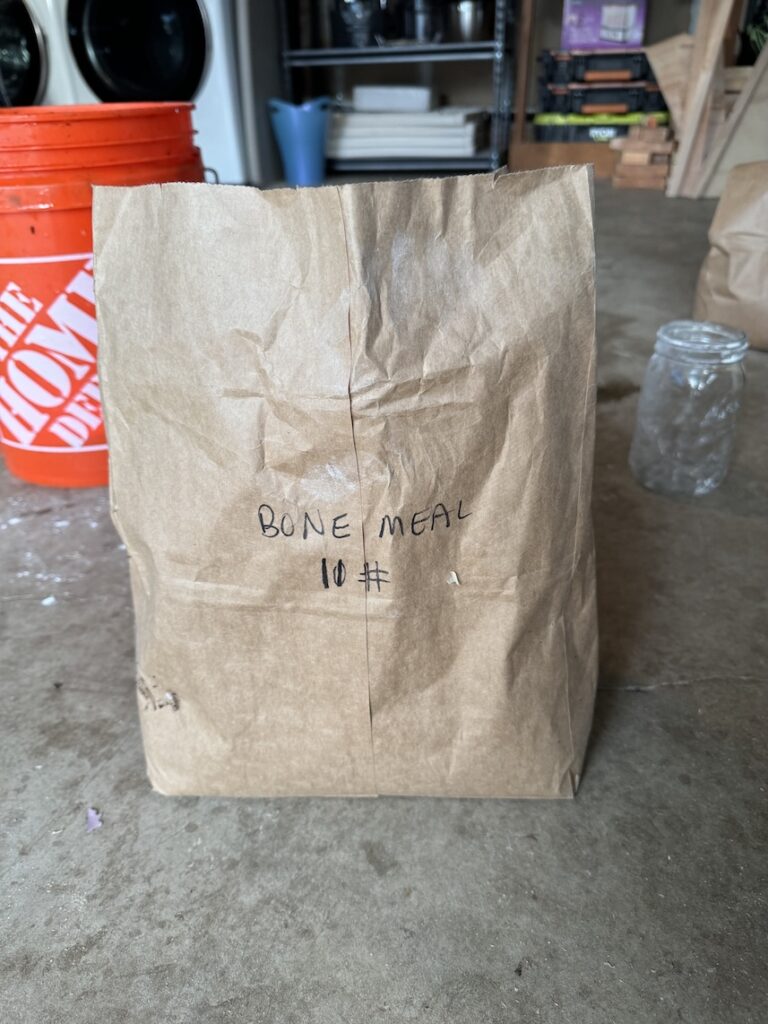
Phosphorus is another deficient mineral around here that can be aided through amendments. Soft-rock phosphates, bone meal, fish bone meal, bat guano and compost are great additions that slowly release phosphorous into the soil. I opted to go with bone meal for my recipe. Bone meal provides a little extra boost of calcium too.
1 part: Bone Meal

Trace Minerals & Micronutrients – abun-defic-eant ❌
That brings us to our catch-all category; trace minerals and micronutrients which encapsulates the rest of the stuff. This is all the stuff soil requires in smaller (if not micro) doses. Sulfates, iron, manganese, zinc, copper, boron, iodine, selenium, chromium, cobalt, etc.
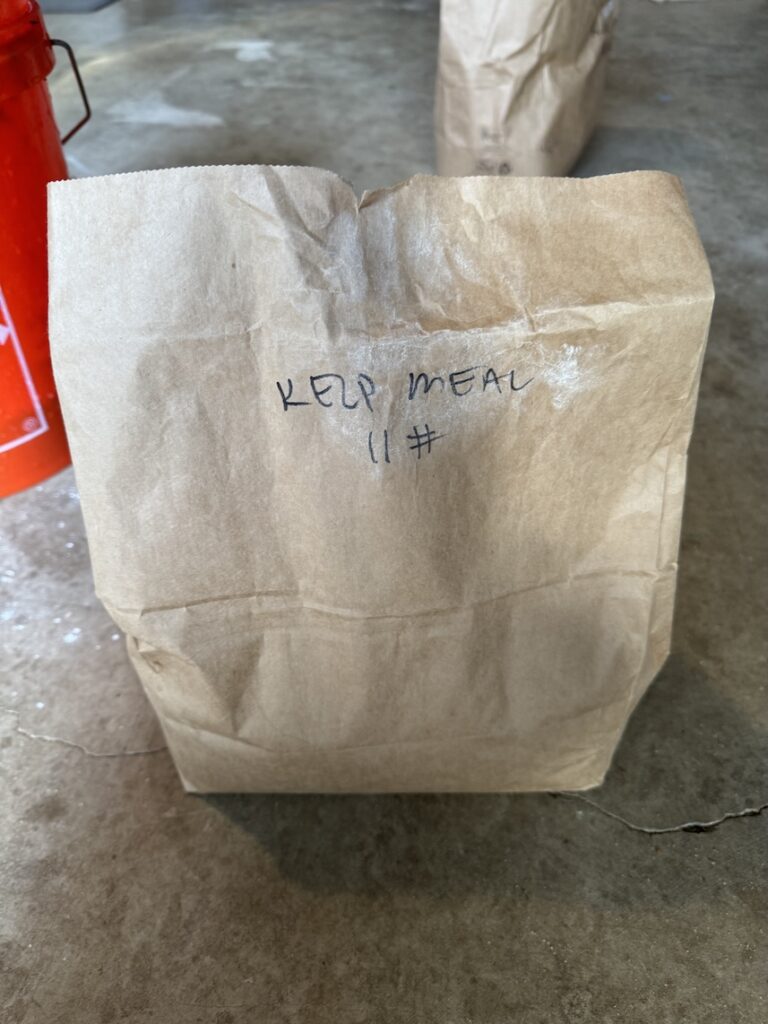
In native PNW soil, some of these nutrients are adequate and some are deficient. Having yet to reach the motivational ranks of memorizing the periodic table of the elements to understand exactly how many grains of selenium to add to each square centimeter of dirt, I simply decided to add a mixture of soil “superfoods” that all pack a great punch of micronutrients in and of themselves. These items complement the Big Three (nitrogen/phosphorus/potassium) above.
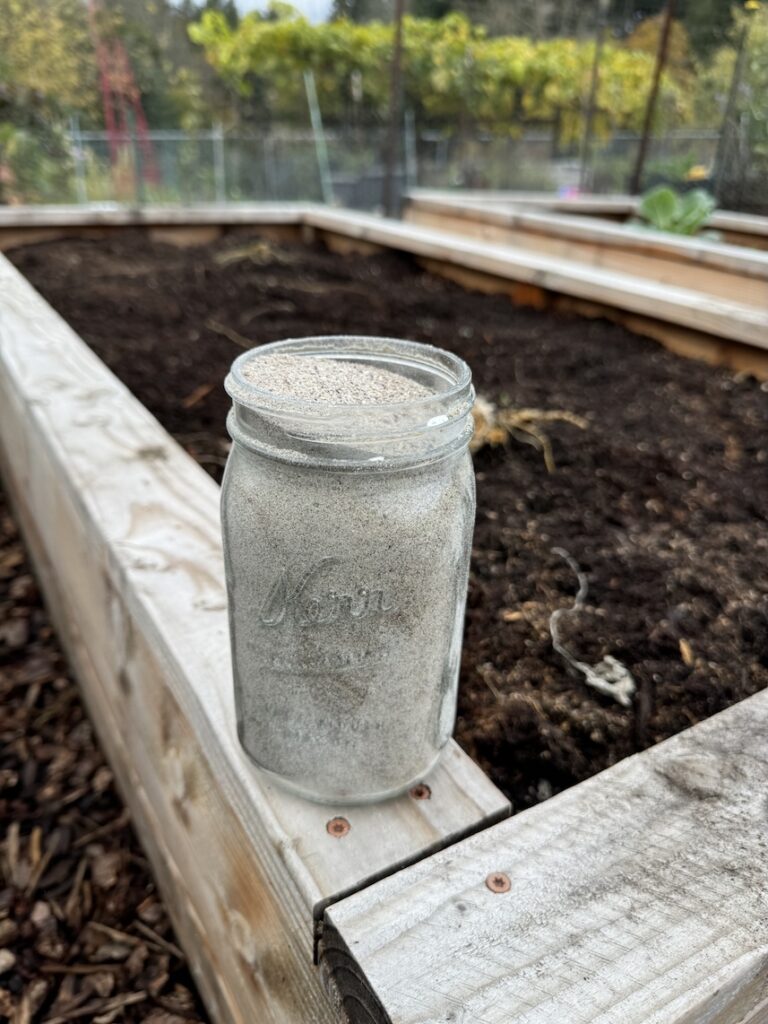
1/2 part: Azomite
1/2 part: Kelp Meal
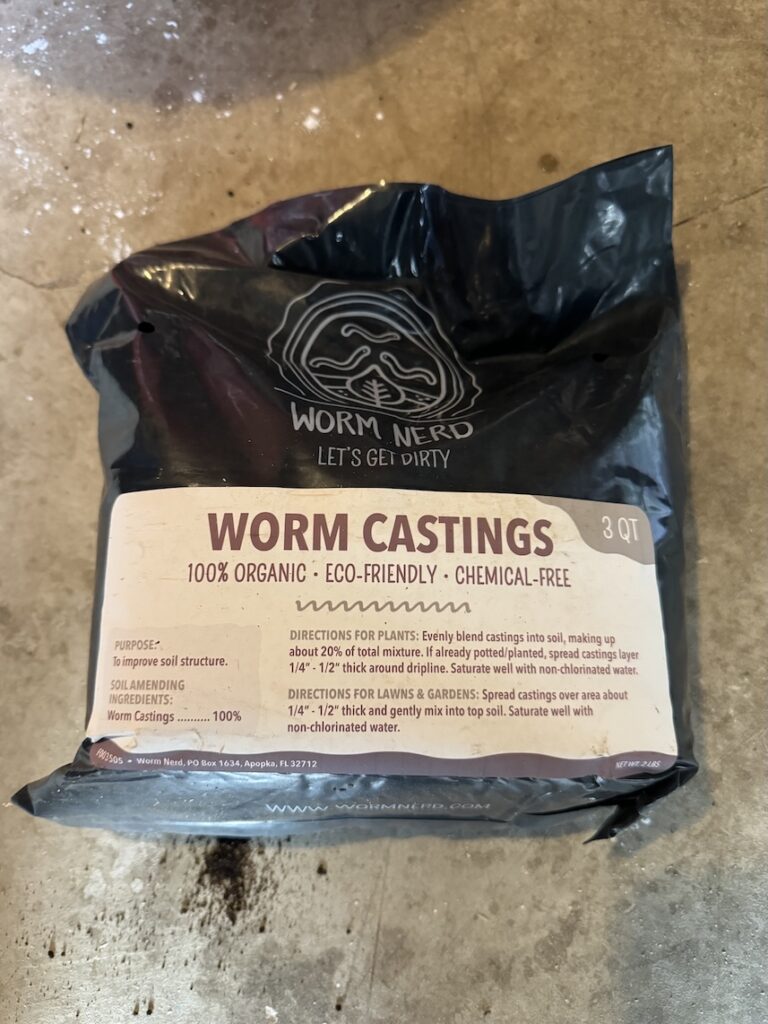
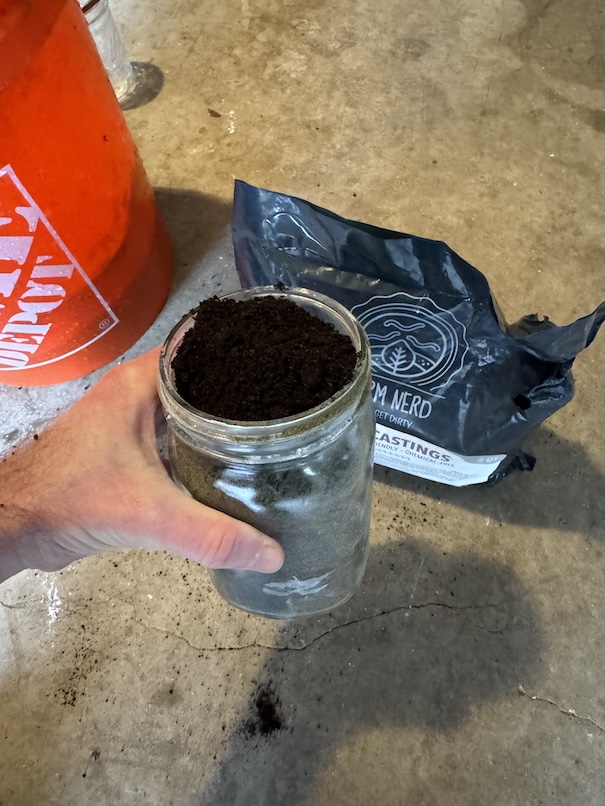
1/2 part: Worm Castings


That concludes version 1 of my organic fertilizer recipe for this year. It derives from Steve Solomon’s book; ‘Gardening West of the Cascades’ which goes into much more detail about how our soil became what it is today and why it’s both abundant in some elements and lacking in others. This recipe will likely be tweaked over time, but for now the plan is to amend all the garden beds at both the beginning and end of each growing season with something similar to the above.
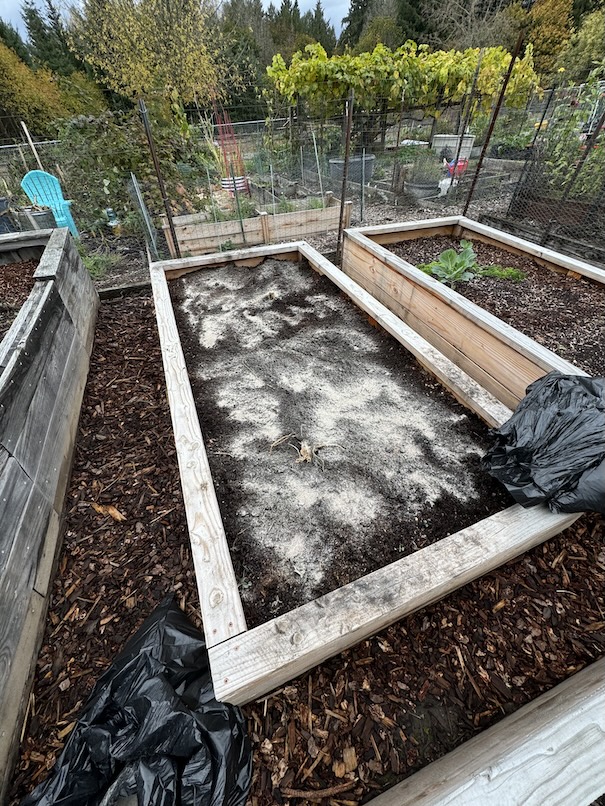
After mixing the fertilizer into each raised bed at the plot, it was time for the next task; mulching them. When these were built earlier this year, I added bagged red bark mulch to each one. I won’t be doing that again. First, it sucks nitrogen out of the soil which exacerbated my lack-of-nitrogen issue from the lackluster bagged soil to begin with. Second, the stuff is splintery! Digging around without gloves led to splinters in my hands that were annoyingly found hours if not days later. This time, I added straw. There’s a local farming/pet supply shop nearby where I sourced a couple straw bales that I pulled apart and spread over all the raised beds.
Here’s a straw bale ready to spread over some newly fertilized dirt.
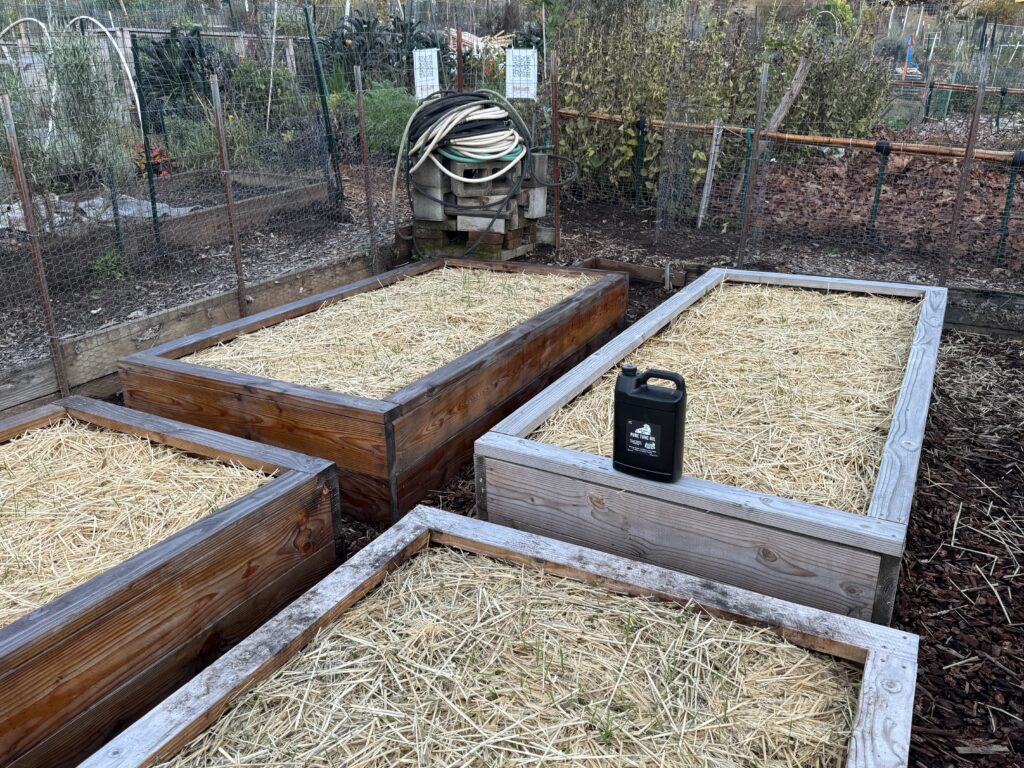
And here’s the final result. I spread it a couple inches thick. It’s messy stuff but will hopefully add adequate protection over the winter.

After mulching all the raised beds both at plot 63P and at home, it was time for the final task. I spent quite a bit of time building these raised beds in the spring and thinking back on how much effort it took, I don’t really want to have to do that kind of work again any time in the near future. That means I needed to protect the beds as much as possible. Enter: wood sealant.
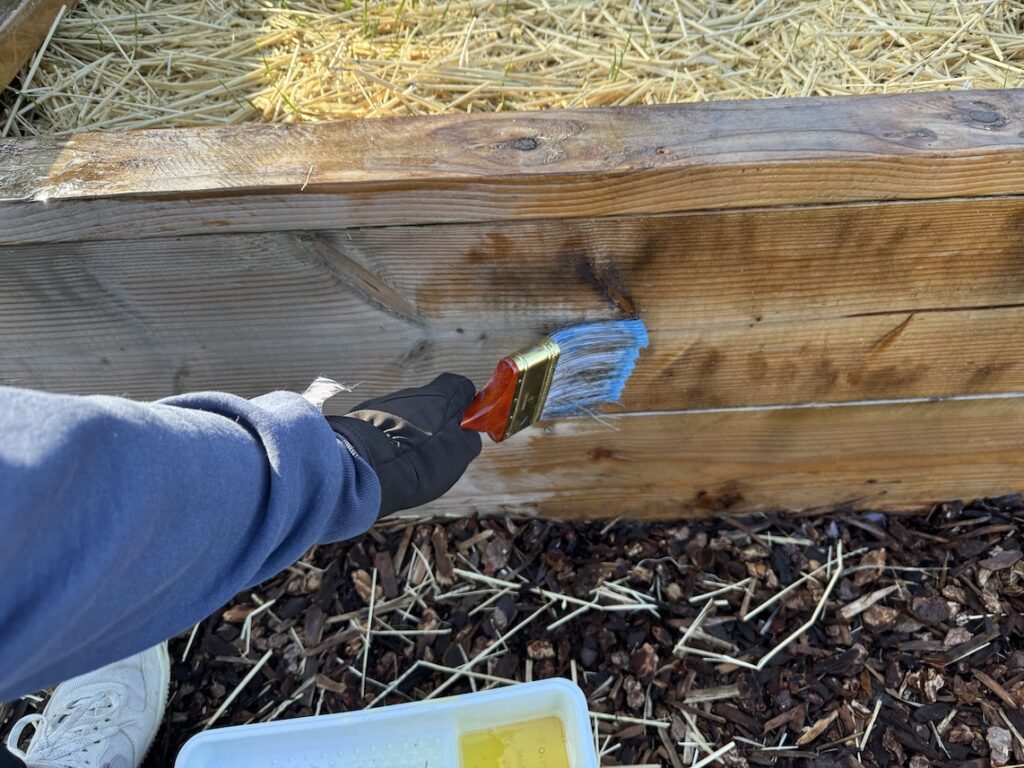
I opted for tung oil which is a natural oil derived from the seeds of tung trees. A paint brush, a paint tray, and a gallon of tung oil headed with me to the plot where each bed was then painted with the sealant. The stuff isn’t stinky per sé, but it’s potent. Some of it got on my sweatshirt and it took a couple washes to remove the smell. Perhaps the most practical way to do the job to avoid smelly clothes would’ve been to do it butt-naked, but alas I’d probably be arrested in that scenario.
When adding sealant it’s best to do it during a dry spell in the weather so the stuff can cure with the wood. Being fall and all in the pacific northwest, it was tricky to find a long enough dry window for that to happen, but the job managed to get done during a rather cloudy (but not rainy) 48 hour stretch. I seized the moment and did them all in one go. You can see the contrast in color below with two newly painted beds and two beds left still to paint.
Conclusion
As of this moment, fall is officially behind us, and as I settle in to pursue more winter-related goals, like garden book reading and seed/equipment shopping, it’s a nice feeling to know everything outside was put to bed as properly as I currently know how. Do garden beds need to be fertilized to such levels of specificity? No. Do they need to be mulched? No. Do they need to have sealants added? Absolutely not! Many if not most gardeners do absolutely fine and can create thriving gardens without taking any of these measures.
Part of taking all these measures is justified by the spirit of learning. Gardening can be a mysterious activity where both great and miserable outcomes can only loosely be traced to any particular act. To me, proactively tending to a garden during the offseason helps take more hypothesizing out of the equation when those in-season results inevitably come.
After gardening fairly proactively this year for the first time ever, I’ve been ruminating on a decent amount of things I did poorly throughout this past growing season and I plan on sharing a year’s end ‘lessons learned’ summary in my next post. So stay tuned for that.
Until then, I hope everyone has a Merry Christmas and Happy New Year!
-AA
Leave a Reply