I could put the title in quotes and suffix it with “, the plants screamed at me, all at once”.
Sprinkled about in my blog posts of past lore, I foreshadow a future time when plant growth will take off like a rocket, soar like an eagle, tower over yards and plots casting shadows all the way across town. That time is basically now. Thus, it feels like a good time to explain my first iterative attempt building trellises for various plants that need support.
Step 1: Identify Support Needed
Upon mentally mapping all the plants that could use supports, I identified three ‘support categories’ that would ultimately help guide me towards some final solutions. These support categories are 1) support for weight, 2) support for containment, and 3) support for vertical growth. Let’s dive in.
Support For Weight: Blueberries 🫐
As witnessed last year, blueberry bushes get really heavy when the berries start forming, which leads to branches that droop. Sometimes they droop all the way down to the ground. This is bad because blueberries are lost in various ground-touching ways. Unless one enjoys shuffling around on hands and knees in the dirt to harvest blueberries, they’re also harder to harvest.
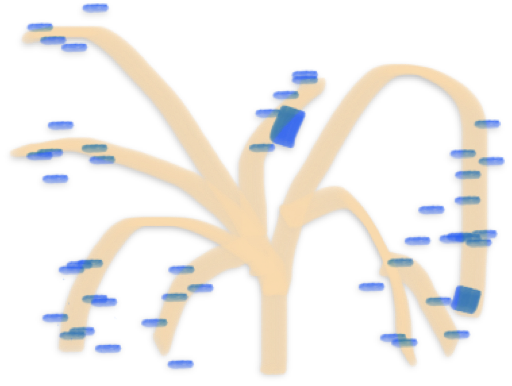
Two solutions were identified; a tripod-framed support structure to hold up individual canes (see left below), or some kind of square frame structure to support multiple canes together (see right below).


The theoretical benefit of the tripod is versatility. Because it supports itself it can just sit on the ground and be moved around as needed. The theoretical benefit of the square frame is less effort by having something simple to make that supports multiple canes, although it is more permanent by being pushed into the ground for support. These designs were the finalists vying to be the chosen one to act as blueberry support structures.
Support For Containment: Raspberries & Marionberries 🍓
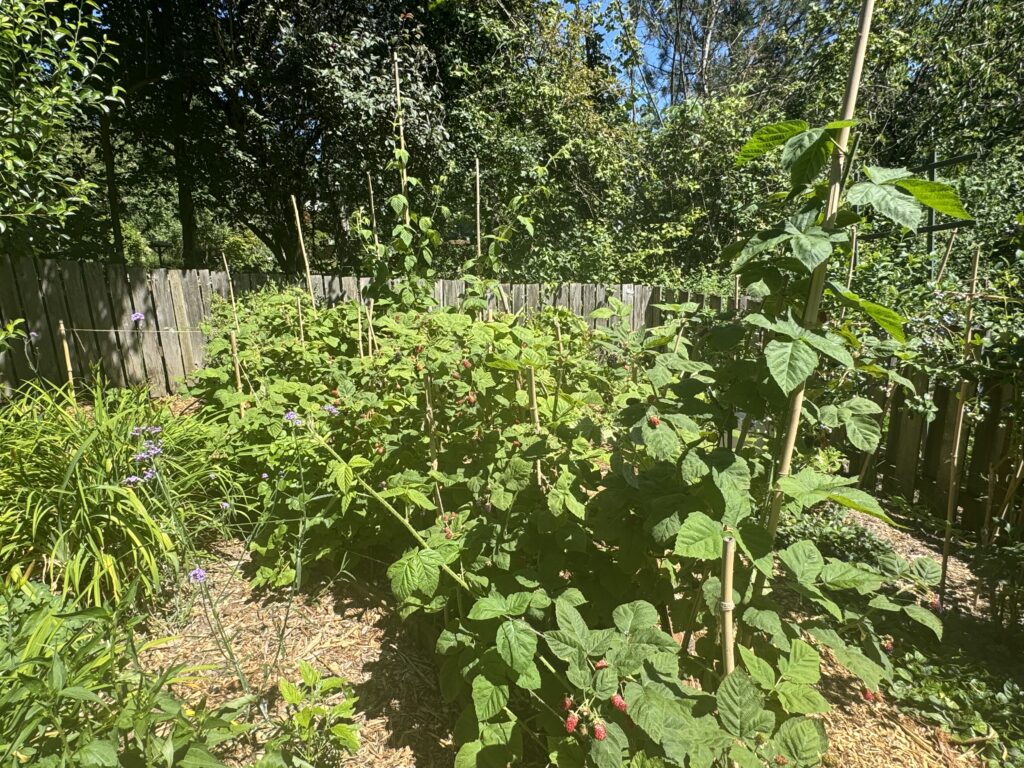
Enter the brambles. I’m sure you’ve heard somewhere or another that bramble berries get unwieldy, and they do so quickly. Our raspberry bramble patch and marionberry patch are separately contained. Actually, “contained” is a generous term. They grow in “an area”.
The goal to support these brambles is to minimize growth outside of their designated area. Growth at the soil level is a different subject, where running stolons shoot off underground and emerge nearby. However, growth from above-ground runners can get out of control quickly as they climb away horizontally. This can cause issues as they run into the territory of other plants, cover walking paths and, you guessed it, makes them more difficult to harvest.
For these, the plan is to install a series of poles spaced evenly around the border of the canes. Then, tie twine horizontally between each pole every vertical foot or two to act as a “wall” that the canes should not escape.

This idea would apply to both the raspberry and marionberry brambles since they more or less grow in the same manner.
Support For Vertical Growth: Beans 🫘 & Tomatoes 🍅
The largest support challenge lies with the indeterminate varieties. An “indeterminate” is a plant that does not have all it’s axes terminate at a flower bud. Instead it grows shoots of indefinite length. Beans and tomatoes are the most popular edible gardening indeterminate varieties.
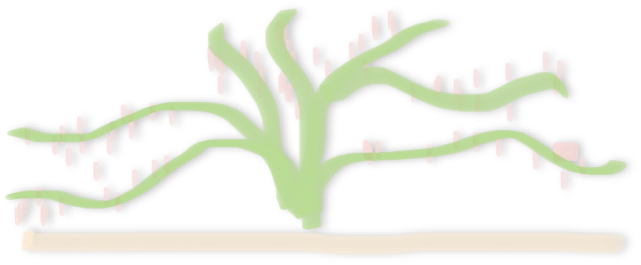
The plan for these is to encourage vertical growth, while at the same time provide support. That means A) there needs to be something for them to grow on, and B) something to hold whatever they’re growing on in place. Here’s the design I landed on.
It’s more complex than the other support systems, but it’s still straightforward. Two tripods with a crosscutting horizontal beam to connect them, with string tied and hung down to support each plant as it grows.
Although the plan is to use this support system for both beans and tomatoes, it’s not a “tomato, tomahto” situation. The plants grow slightly differently. Beans are climbers that use twining systems to wrap around supports. So they can physically pull themselves up. Vining tomatoes on the other hand are a little different. They need more physical training for their stems to grow upwards, aided by pruning suckers which directs more energy into this vertical growth pattern. Hence, while the structure itself will be similar for both types of plants, The way they grow up the twine tied to the crossbeam will differ.
Let’s get into building!
Step 2: Gather Materials
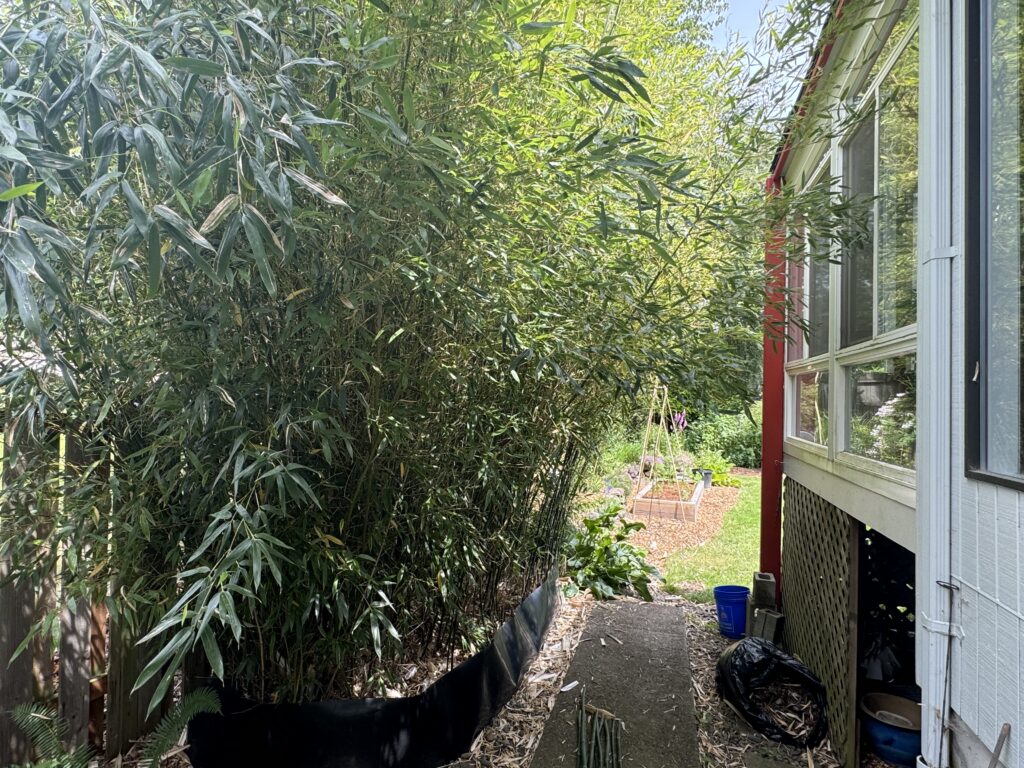
There’s a longstanding bamboo patch at the house. Historically there have been attempts to remove this pesky plant, but to no avail. Here it lives. Here it never dies. Since permanent bamboo removal is an achievement apparently only the Gods have the power to perform, the next best possibility for us mere mortals is to make it work for us. When life hands you bamboo, you make bambooaid amirite?
How convenient this is then! I have trellis needs and there’s a strong, durable, lightweight, natural, sustainable, flexible, pest-resistant, rot-resistant ever-producing material right under my nose! Huzzah!
Here’s the process I use for harvesting, curing and preparing bamboo for use as trellis supports.
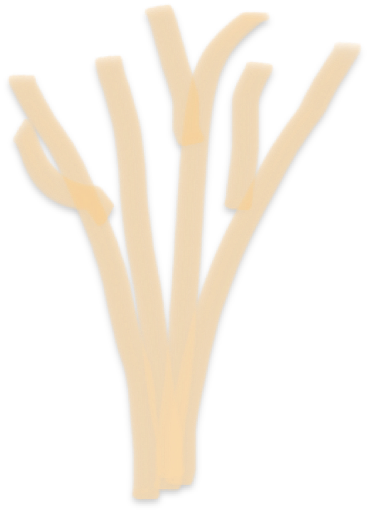
First, a few stalks are chosen that looks fairly thick and aren’t too warped at first glance. Using my best judgement for what look to be good stalks, I chop some of them down.
Next, all the leaves are removed to leave just the culm.
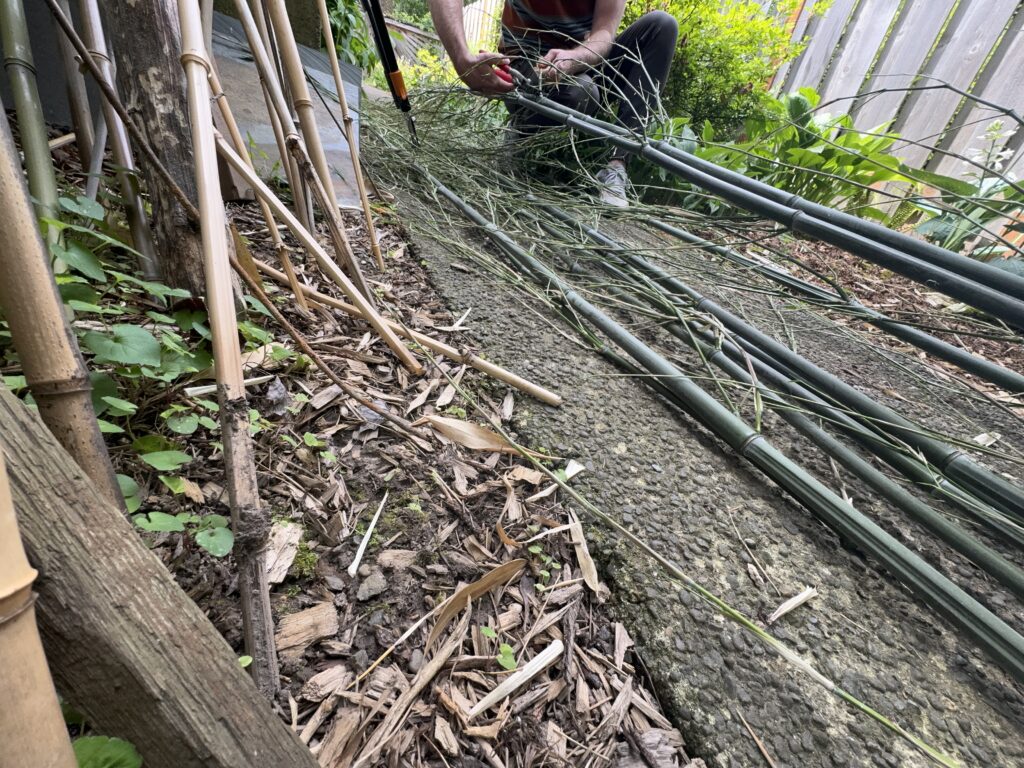
What’s left is a bunch of culm, which is where the more analytical and nuanced work begins.
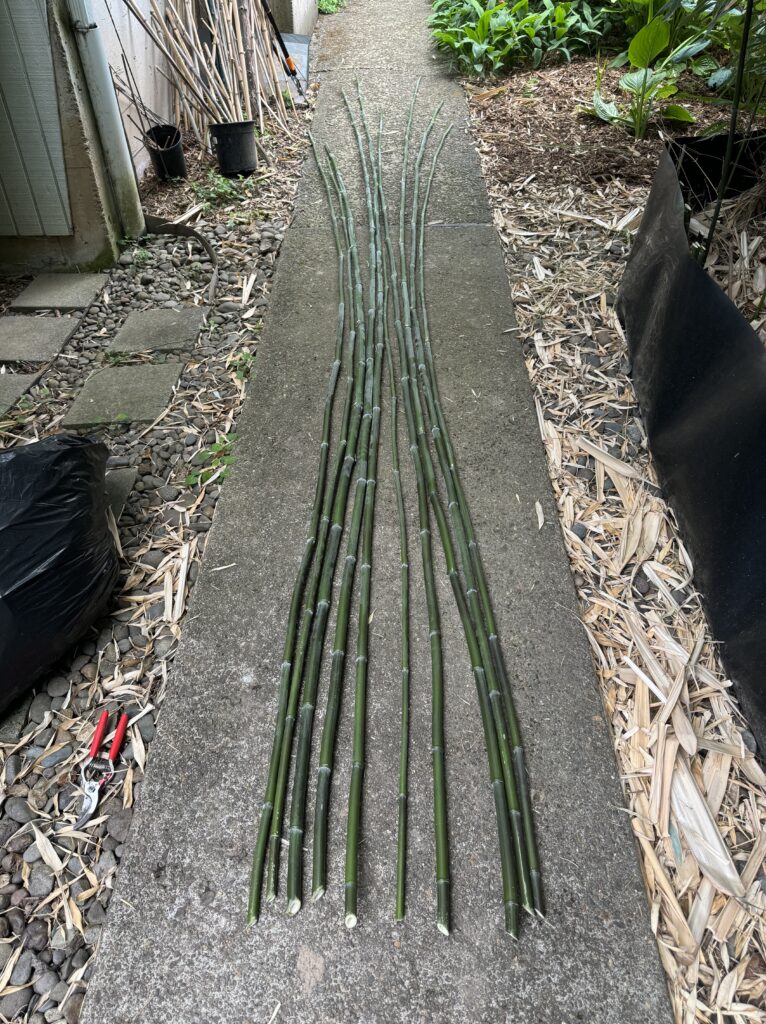
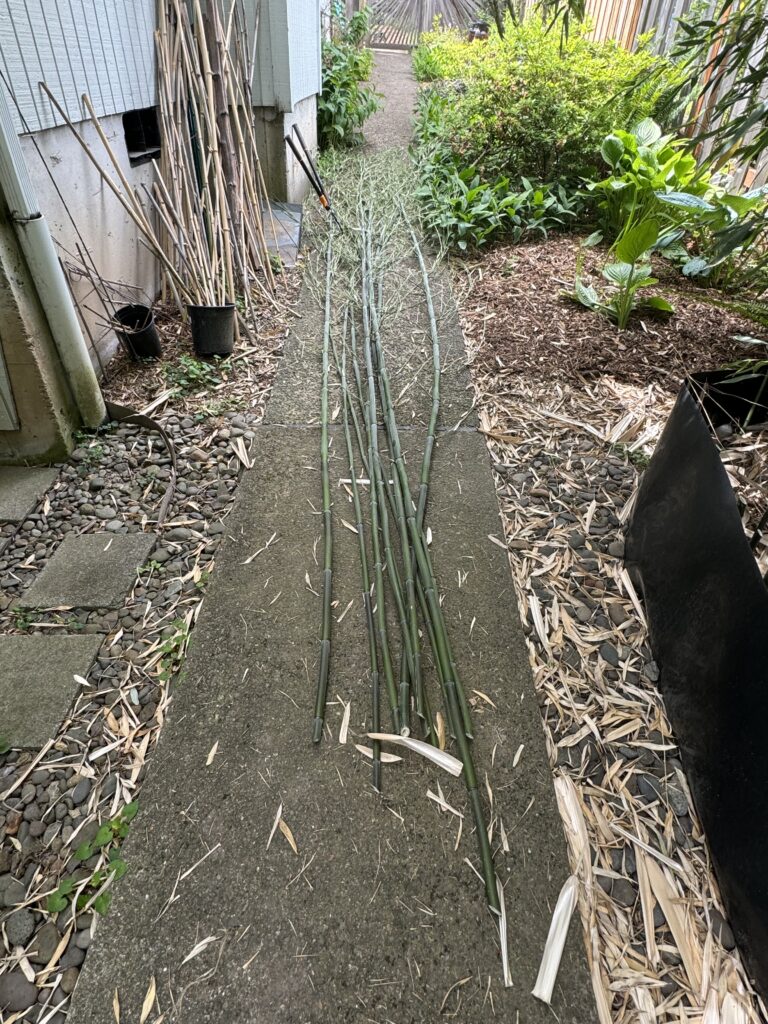
The goal by the end of this process is to have a collection of cured and ready-to-trellis bamboo grouped in various lengths. 2 footers, 4 footers, 6 footer poles and the elusive but glorious 8 footer poles. In order for a stalk to reach 8 feet, it has to be pretty damn straight for 8 straight feet, which rarely happens. I’m probably more a stickler than I need to be when judging how straight these freshly cut stalks need to be, but keep in mind that they can warp as they cure, augmenting any warpage they have at the outset.
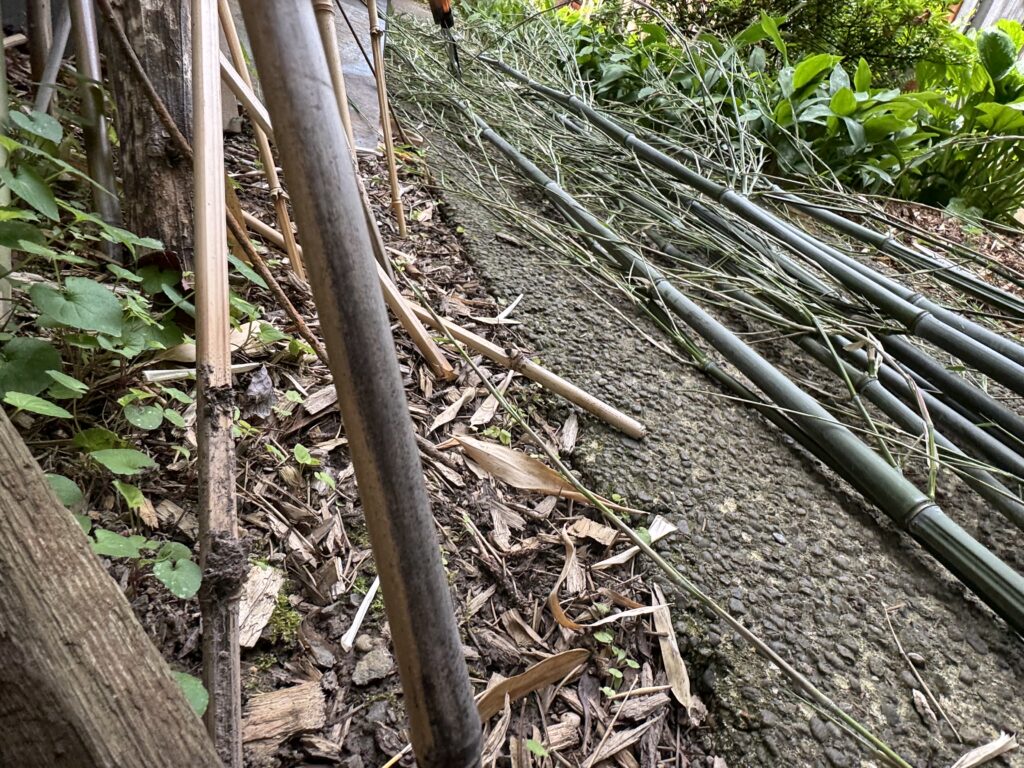
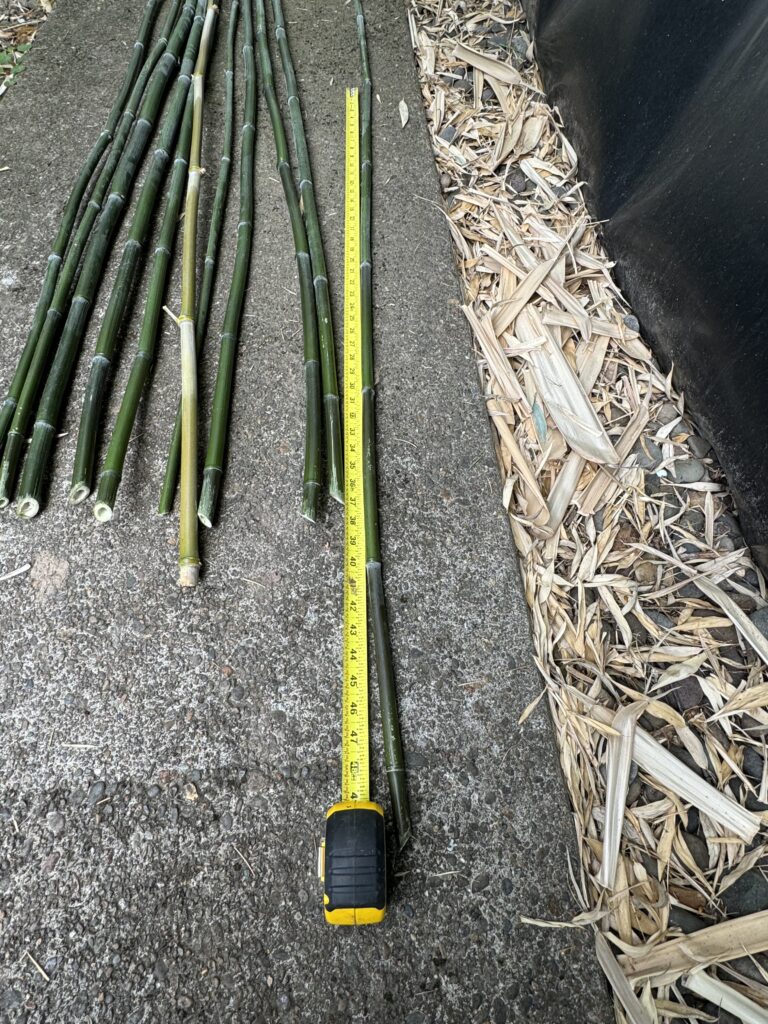
As you can see above, bamboo can have varying degrees of straightness, with some more “bendy” than others. So, one by one, I judge them. The stalks that have a section of 8 straight(ish) feet are cut, and if they don’t have 8 straight(ish) feet then we go to check for a section of 6 straight feet and cut that, and so on and so forth all the way down to 2 foot sections. An example below is a decent 4 foot section ready to be cut and cured into a 4 foot pole for next season.
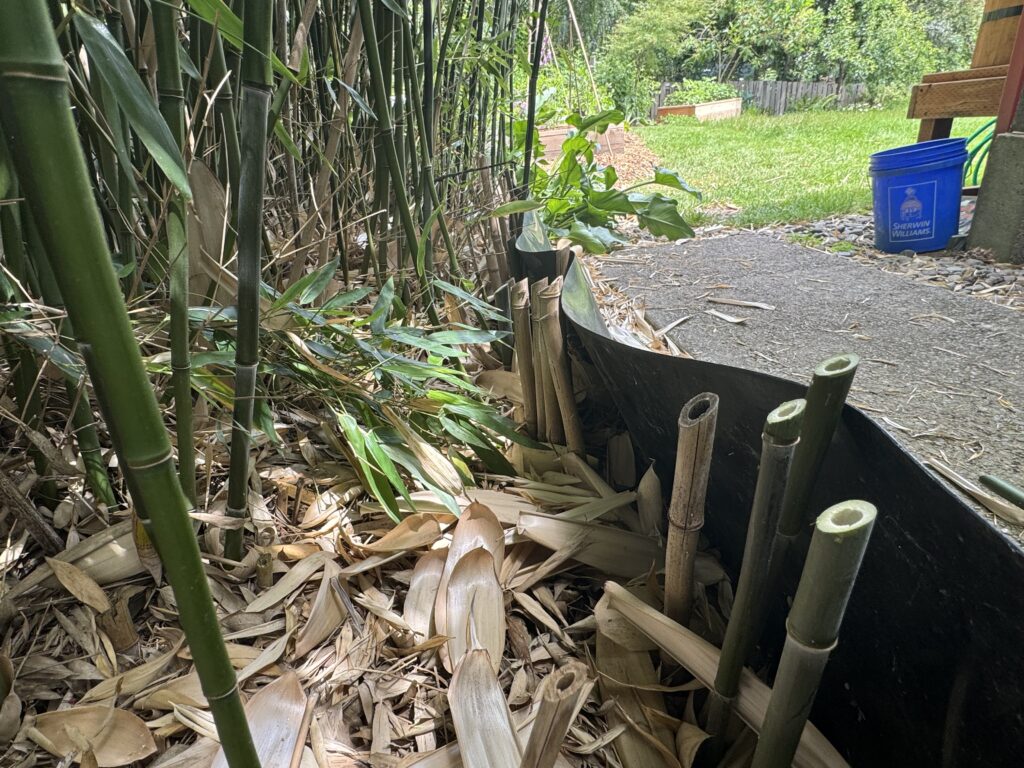
When everything is cut, then it lies to cure, where it is then stored in Trellis City on the side of the house. It looks like chaos because it is chaos. Bamboo can’t be tamed, even when it’s dead.

Now we’re finally ready to create some trellises.
Step 3: Build
Unfortunately I failed to take any pictures of the actually building of these things but it’s not that exciting. The main time suck came down to figuring out what knots to use. I went through a few iterations of knots but I’ll touch on that later.
First up are the blueberry trellises. Ultimately I chose to forgo the tripod single-cane support structure in favor of the more square and simple multi-cane support structure. I chose this for simplicity of setup, as well as creating the most use out of the least bamboo possible. Although the bamboo collection is growing, it’s still a finite supply, and I want to save as much as possible for any future trellis needs, both known and unknown as the season progresses.
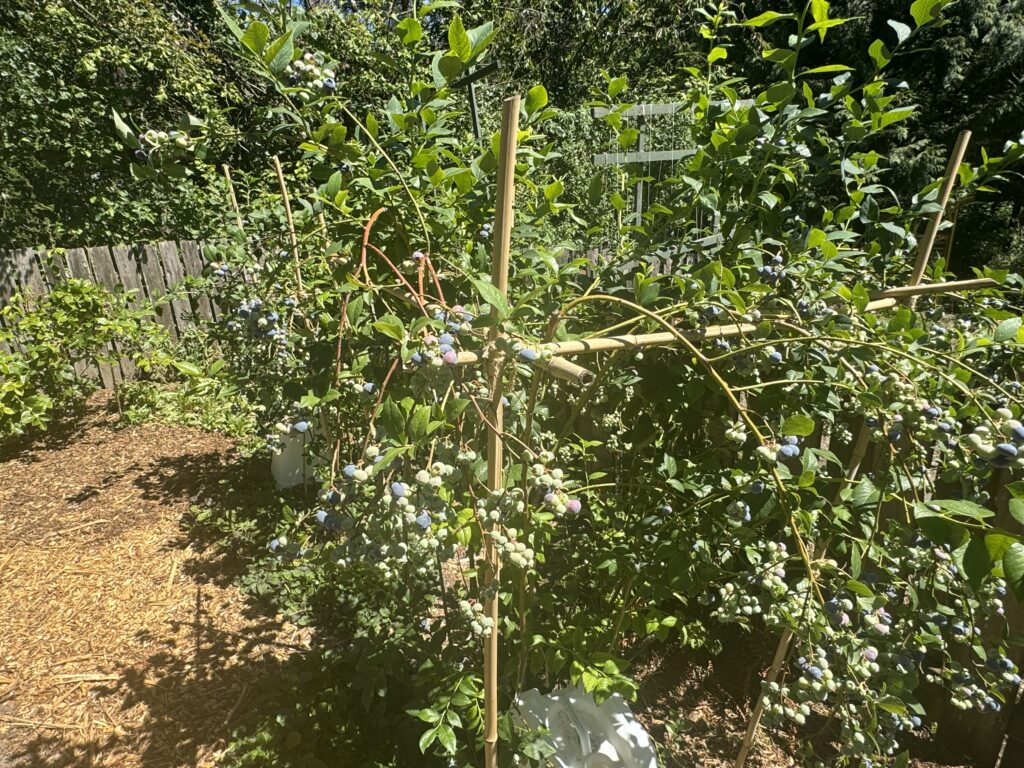
These are just three perpendicular bamboo poles, lashed together with garden twine at a height where the blueberries can hang without hitting the ground at an easily-pickable height.
These trellises were tricky to position both placement-wise and height-wise because as the bushes got heavier and the canes got longer, the bushes shape-shifted a bit. I had to install these supports where I thought the final resting spots would be for each cane when it was full of fruit, at a height that I thought they would eventually prefer when drooped low. Sometimes I was right about this and sometimes I was wrong. I had to adjust where the trellis was staked and adjust the height of the crossbeam a few times before getting it mostly right.
The marionberry trellis went through the most growing pains in my first year doing this. At the beginning of the season this support structure looked quite a bit different because I built a twined “fence” around the whole lot. For this “fence” I staked 6 ft bamboo poles and had a piece of twine connecting the poles every vertical foot or so.
Needless to say, brambles grow taller. Shocking, I know. In the back of my head I knew this but I just didn’t have enough 8 foot bamboo poles to stake the twine fence higher. Additionally, a few shoots just bypassed the fence entirely and grew laterally very fast. In the above photo you can see one diagonal cane shooting off to the left. Cowabunga!
The final iteration for the raspberry and marionberry brambles were to remove the twine fence completely and instead stake various poles throughout the bramble, loosely tying canes to each bamboo support in a vertical manner.
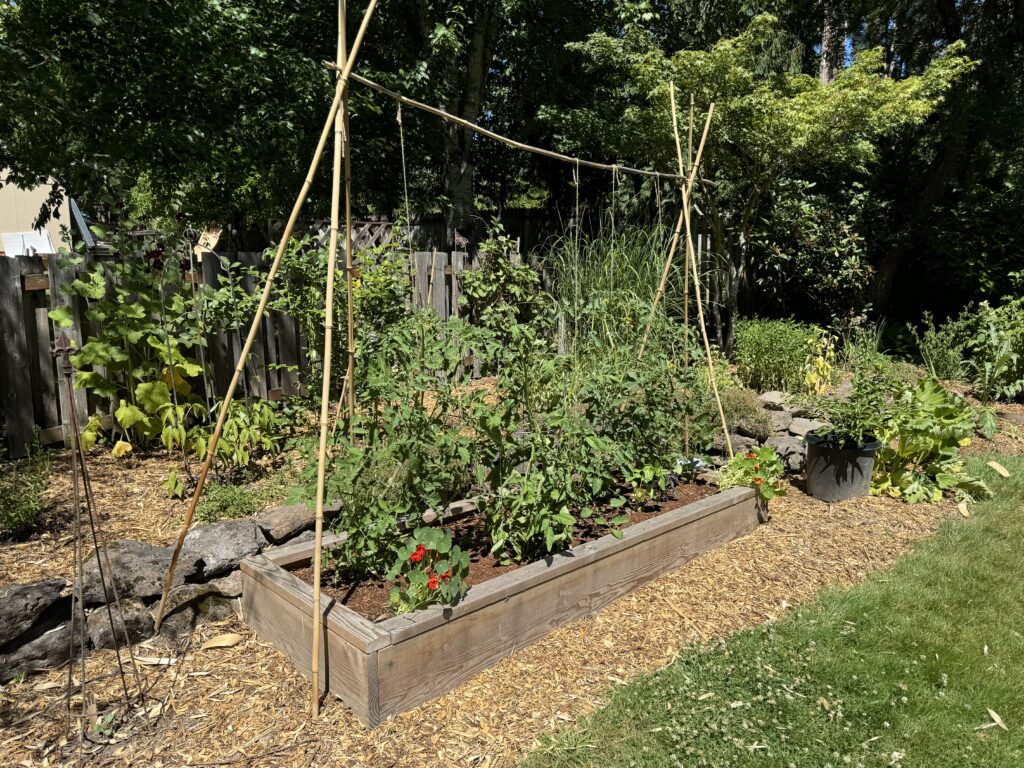
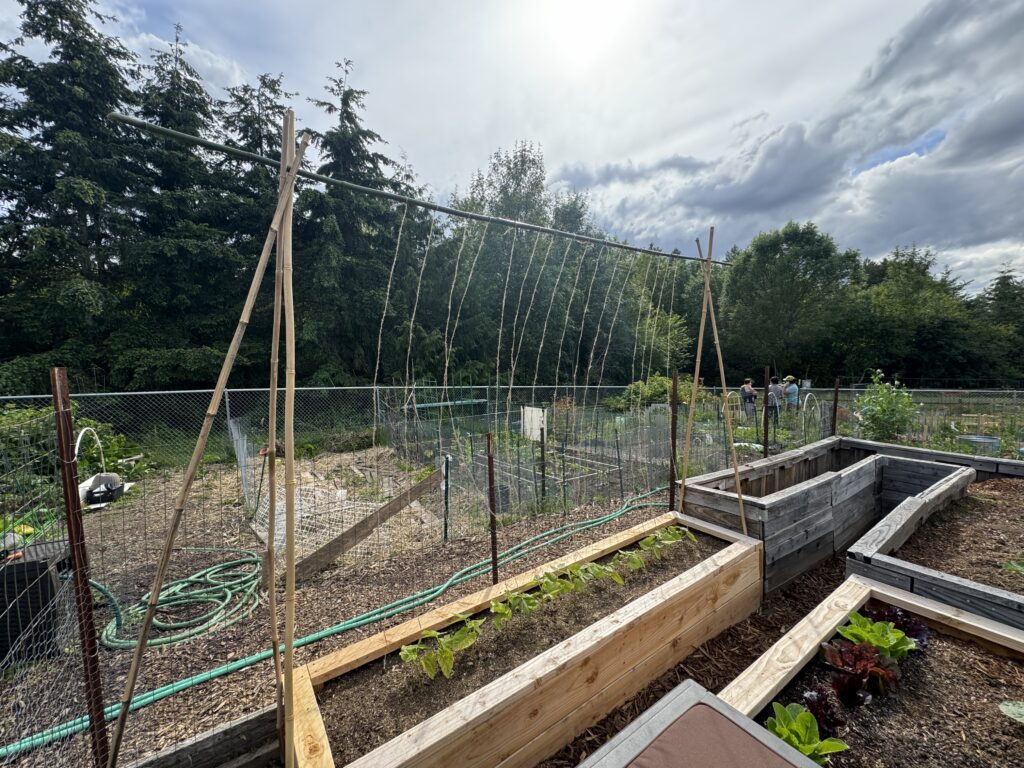
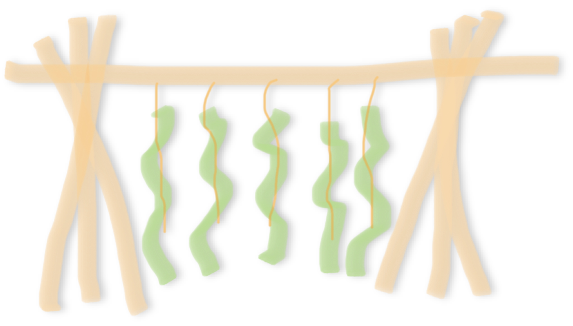
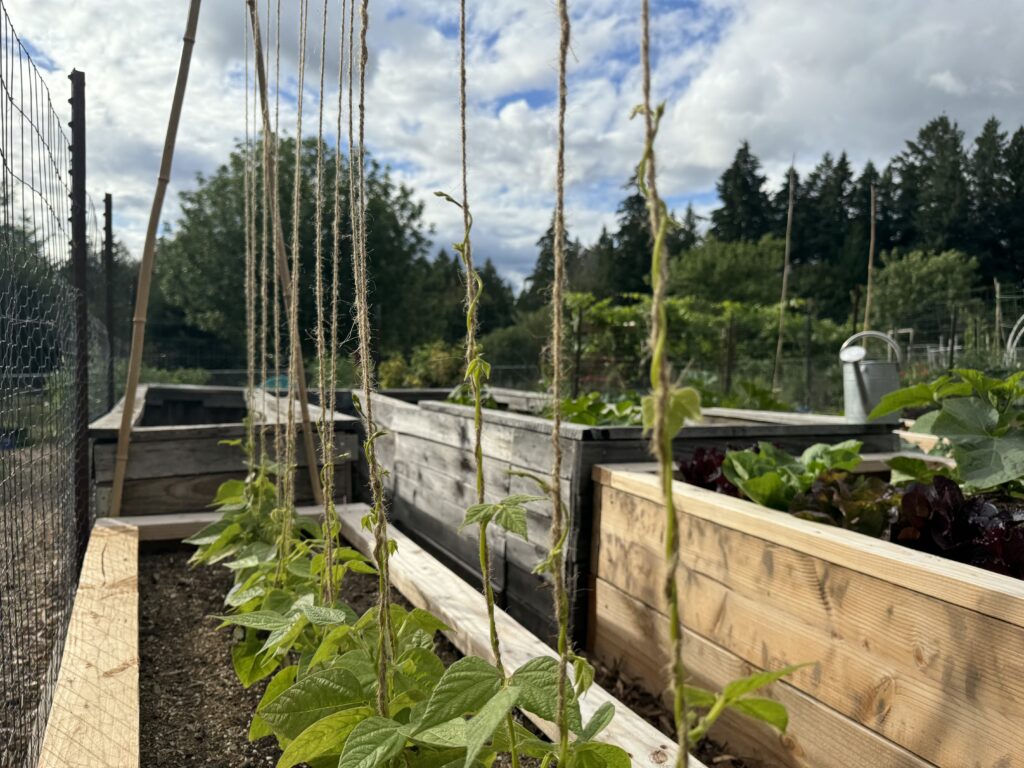
Time will tell how the bean and tomato trellises will turn out, as the growing season is ongoing. They are built virtually the same. The only difference is the way the twine hanging down to each plant is secured. For the tomatoes, the bottom was tied loosely around the base of each tomato plant. For the beans, the bottom of the dangling twine was not tied to anything. This empowers the beans to “climb” the twine themselves, creating tension. The tomatoes just need something to act as a guide for upward growth. The beans are the equivalent of teaching someone to fish and they will fish for a lifetime. The tomatoes are the ones you keep having to dumbly give fish to. I still love you tomatoes.
It’s been a fun challenge trying to come up with trellis ideas using materials grown at home. The ability to cull bamboo, cure it and use it makes it even more satisfying, especially knowing the bamboo can be reused each year in the ever-growing collection. Another aspect I enjoy is the transient nature of the trellises. There are plenty of trellis options that are more permanent, but being able to whip up some bamboo structures and take them down just as quickly is a great lightweight and flexible technique, especially when incorporating practices like crop rotation where trellises may have to move somewhere else.
Lessons Learned
Lesson #1: Placement Matters
Ok I know this is vague but hear me out. It’s vague because it means multiple things.
For one, placement means the location where the poles are set. For the blueberries and brambles, I had to change locations of the poles various times before I got them in the right place for proper support. Sometimes this just meant staking them a few inches somewhere else. Knowing where to place them ahead of time is tricky, but having to pull up poles that some vines and canes are already relying on makes them difficult to untangle. You don’t want to be moving stuff around when fruit is really starting to set.
Placement also means the depth at which the poles are in the ground. As the season warms up and the soil gets harder, it becomes more difficult to push the poles into the ground. That said, if they aren’t pushed down far enough, they will start to lean; either from the weight of the fruit, or from the tension of the twine pulling them laterally (in the case of the twine “fence”. Either situation compromises the integrity of the support structure and can ultimately make it useless.
Lesson #2: Knots Matter
I’m bolding this one because it’s the most important lesson I’m learning from making homemade trellises. Knots matter for a variety of reasons but to me it boils down to 2 main reasons; they matter in how they hold things together and they matter in how easy they are to adjust. This lesson is exacerbated when dealing with, or building with bamboo in particular.
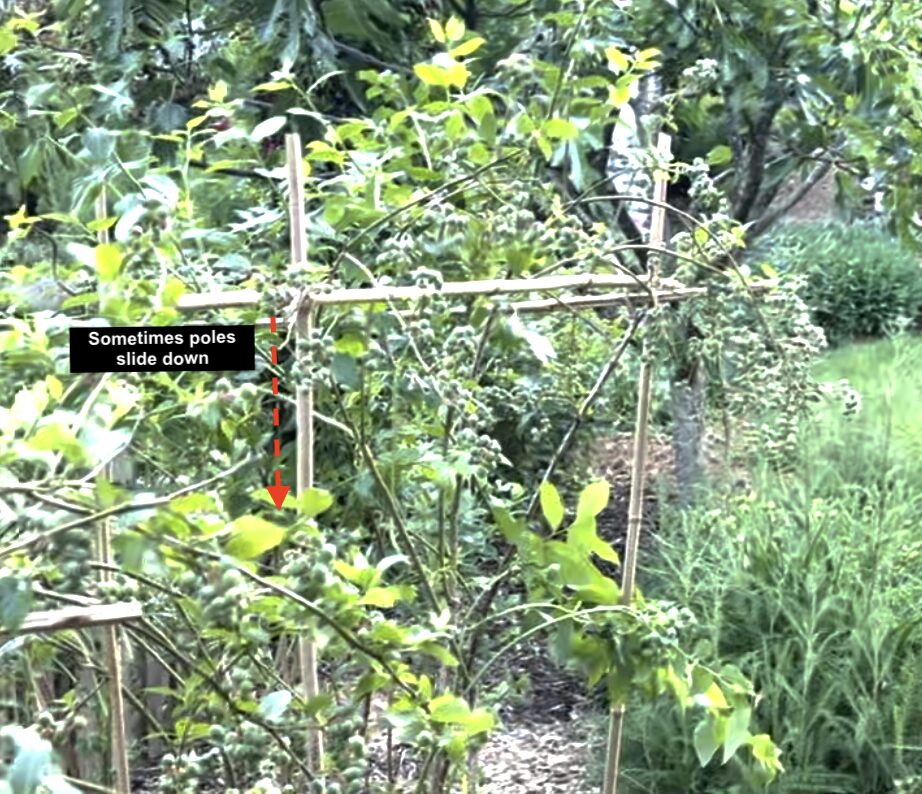
Bamboo is very smooth. Another shocker. Even though they have protrusions at the end of each internode (roughly foot-long segments between two nodes of material) that make great resting places for twine tie-offs, sometimes you have to tie directly to the smooth node-less sections to achieve a particular vertical resting height. That can mean lashing two poles together at their smoothest areas. Why is this relevant? With a poorly tied or improper knot, the lashing will slide down under the weight of what it’s holding, requiring constant adjustment. This happened to me time and time again, causing me to have to reposition bamboo together and re-lash with new twine, which is a lot of extra work.
Over the course of the spring, I went through 3 iterations of knots in an attempt to lash two perpendicular poles together. The final version that has given me the most success as of now is the transom knot. It’s a fairly simple knot that I had the least trouble adjusting and maintaining, especially when many times it was just me myself and I having to hold everything together and adjust the knot as I went.
For the bean and tomato trellises, the knot is important for a different reason. Making adjustments. This is a classic ounce-of-prevention, pound-of-cure situation learned the hard way. In the above bean and tomato trellises, there are multiple strands of twine hanging down from the lateral bamboo cross beam; one for each bean (and tomato). These twine strands require constant adjustments to take up slack as the plants pull them to and fro creating slack.
I originally tied each one using two overhand knots, not thinking about anything other than securing them in place. This worked fine…until I had to take up slack. Undoing two overhand knots (times twenty or so for each plant), especially with twine, is – SPOILER ALERT – a pain in the ass.
The knot I switched to for vertical training twine is the clove hitch. This may be obvious to some of you readers with better knot skills, but this knot was transformative for this purpose. It’s easy to tie, it’s easy to untie and it’s easy to adjust. This will be my go-to knot unless something significantly better comes my way.
Conclusion
It’s been an enlightening journey dipping my toes into the DIY trellis world. I think having so much bamboo on-site has been a motivator for me to see if it could put it to good use in the gardens both at home and at the plot. Ultimately I’ve learned that placement and knots matter, mainly in the sense of preventing needless extra work. There are many ways to design and create trellises, but the wrong way is the trellis that is more effort to tweak and maintain.
I wouldn’t say I’m an expert, nor even an intermediate “trelliser”, however these lessons will definitely serve me next season in beyond as iteration on this process continues. Hopefully some of these lessons resonated with you as well. If not, I’ll send you a complete refund!
Until next time
AA
Leave a Reply