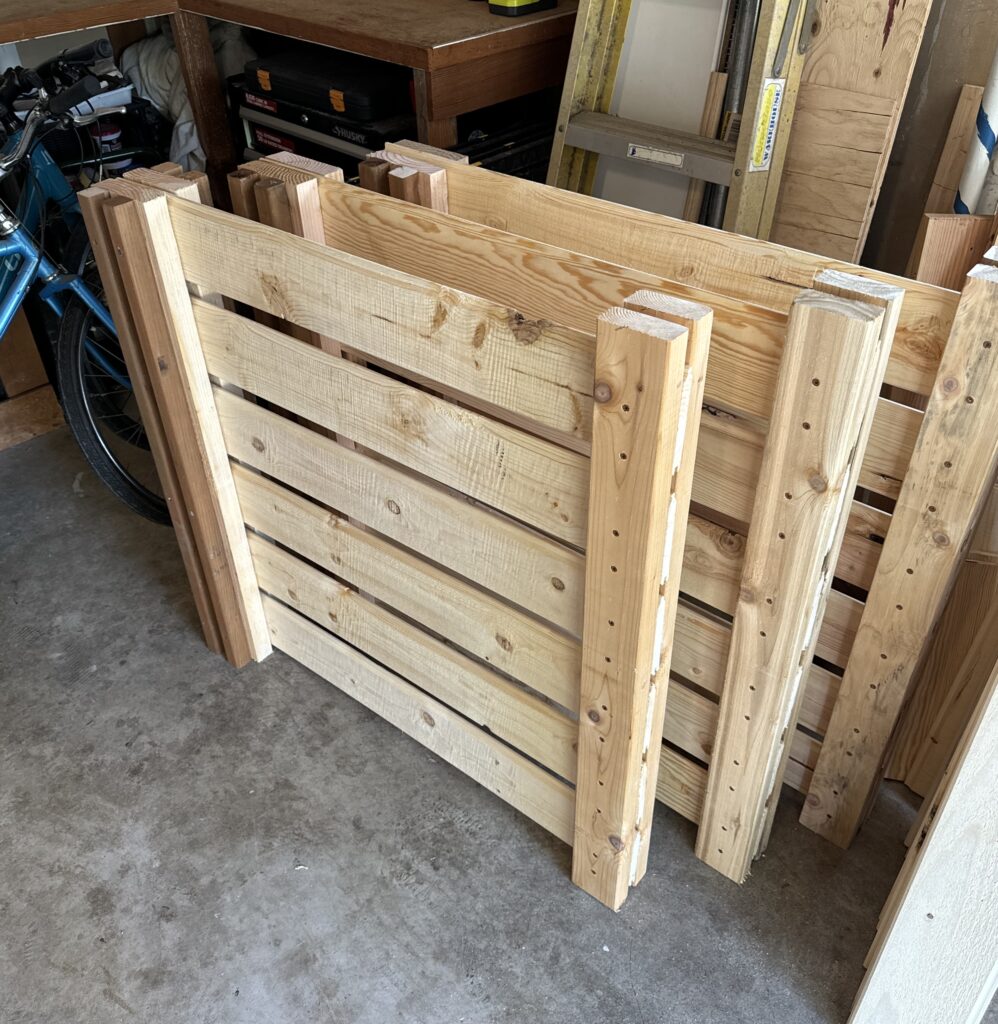
It’s officially autumn, which means the end of the first season in plot 63P is drawing nigh. There are still crops to be harvested, so rather than writing a premature post-mortem about how it went, I’ll instead write about another journey I’ve taken over the past year; compost!
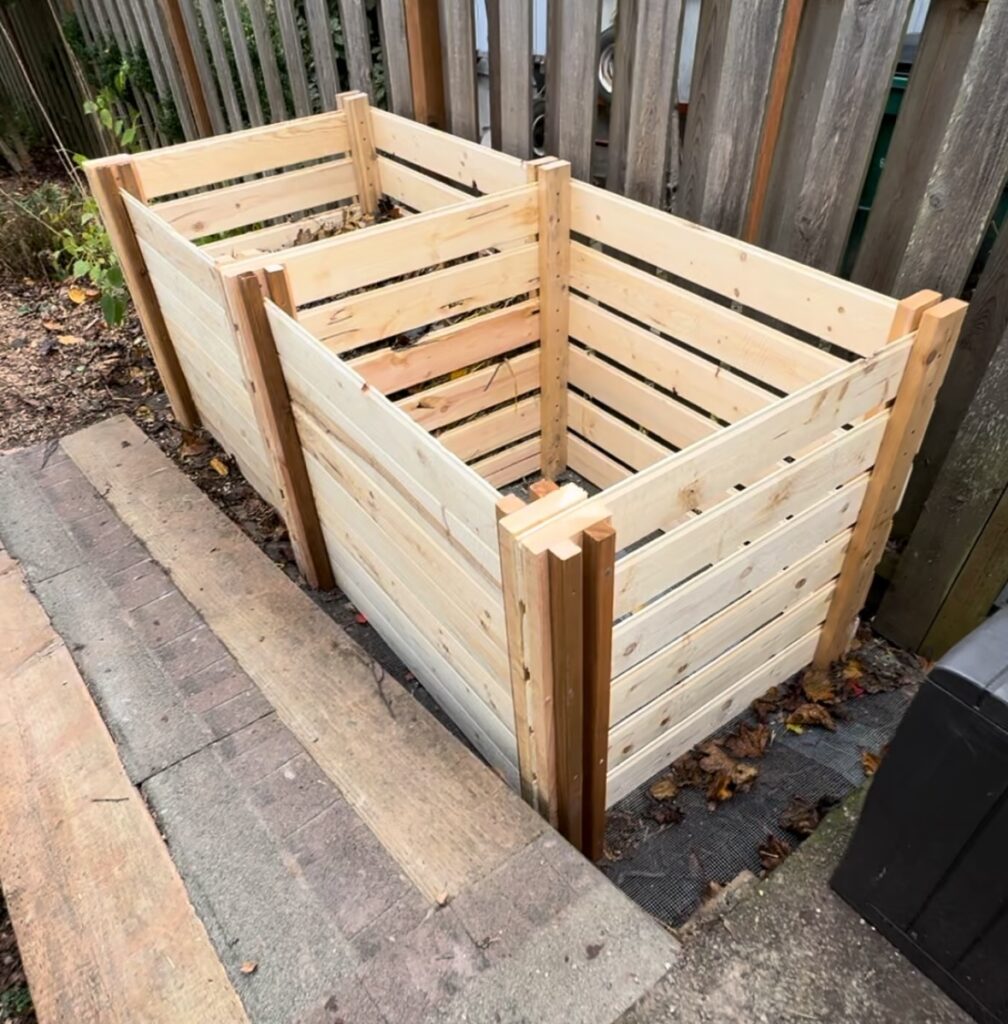
One could argue that it all began last autumn when I built composting bins for our side yard, but it actually began last summer when I read a chapter in a local gardening book that briefly covered the importance of composting. That spawned my intrigue around soil health. Being new to the hobby of growing I by no means do I know much about soil health, but this brief book chapter on composting sparked in interest in me about how to properly take care of soil for growing food.
My reasoning for this interest is as follows; good crops needs a few things – proper sun, proper moisture and proper nutrients. Those are the Big 3, followed by – general care of plants, dealing with pests, yadda yadda. Sun and moisture are obviously equally as important as nutrients, but nutrients are the real rabbit hole of learning truly how plants build themselves from the ground up. The sun does obvious sun things and water does obvious water things, but if the soil sucks, no amount of sun or moisture will save the crops (unless you’re planning on growing just weeds).
What really illustrated the spark of my composting desires was when I picked up another book called Growing Vegetables West of the Cascades by Steve Solomon. He discusses the issue of nutrient deficiencies in homegrown food, stating that just simply growing food at home doesn’t guarantee it will be nutrient rich. For that, soil needs to be carefully managed. Soil in the Pacific Northwest has an abundance of certain nutrients and minerals, but lacks others. This encourages amendment of proper supplementations, organic matter and fertilizers.
Now I don’t intend to get too much “in the weeds” about this, since like any topic one can get extremely nerdy with the specifics. That may be a future post when more is thoroughly understood. Instead, I’ll share my experience of dipping my toes into the compost waters and explain the simple lessons I’ve learned and plan on taking with me into autumn and beyond for next year’s compost shenanigans.
Phase 1: Leaf if alone
At the outset, I did know one fact about compost; it’s a pile of organic matter. Organic matter … now where have I seen that around the house before 🤔 Turns out we’ve got 2 sources of material conveniently around our house.

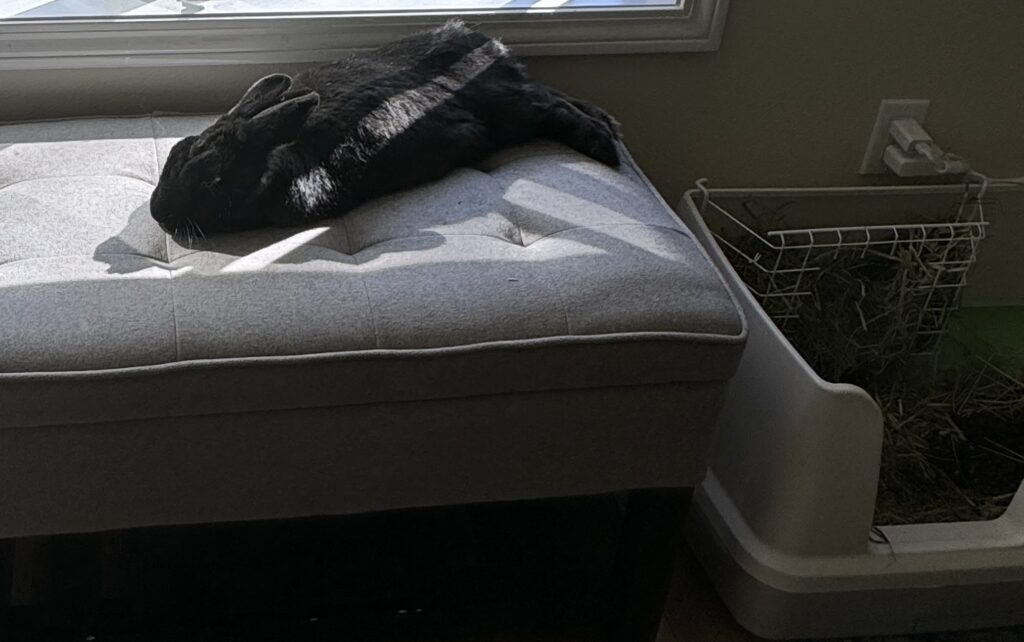
We had a lot of leaves dropping around the front and back yards. We also have a pet rabbit that eats hay and poops. Research indicated that rabbit poop is amazing for compost since it’s basically ready-made nitrogen nuggets that can even go directly into the ground. Big win!
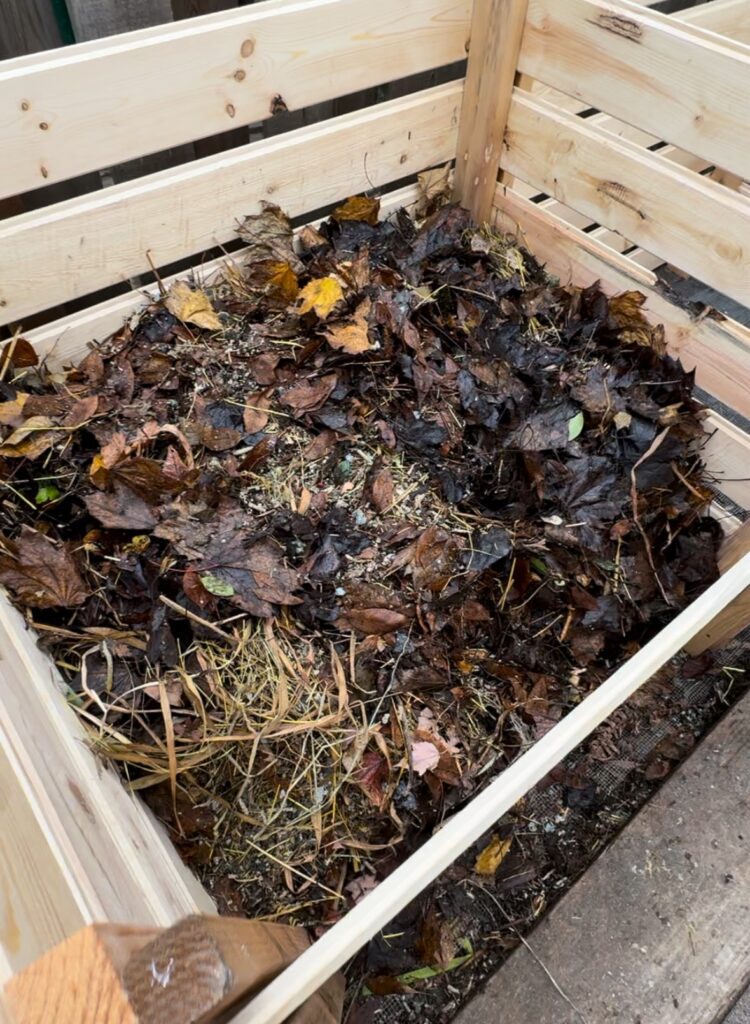
In November, I gathered yard leaves and piled up rabbit litter, rabbit poop and soiled hay to form the base of my first composting experiment. Things remained relatively unchanged and untouched for the next few months through the winter, aside from adding additional loads of rabbit litter every time I cleaned the litter box.
Phase 2: Resuscitate
Come February, when slight hints of spring and sun started showing themselves, it was time to revisit the heap to see what, if anything, was happening.
Turns out, not a lot of material had decomposed. The leaves still mostly looked like leaves, and the pile actually smelled bad. I later learned that proper well-made composting stems from aerobic decomposition where microorganisms break down organic material in the presence of oxygen. However, my pile was breaking down via anaerobic decomposition, where organic material breaks down in the absence of oxygen. Why? Because my pile didn’t have enough air flow. This resulted in a gooey sludgy breakdown of materials that not only didn’t smell nice but was also hard to shovel.
To help mitigate this stinky no-good anaerobic process and turn my compost frown upside down, I started turning over the heap to get more oxygen flowing into it.
This helped a bit with time, but it was still stinky. It was also concerning that the leaves weren’t breaking down very fast, even after a few rainy months.
At this point, spring was starting to … spring. We had been composting our kitchen scraps throughout the winter separately and, after an offseason filled with readings about composting methods, I had a slightly better sense of the ingredients and processes necessary to both build the heap and expedite it’s breakdown.
Ultimately, the most primitive equation of compost is:
carbon stuff + nitrogen stuff = compost stuff
My pile had plenty of carbon stuff: leaves, hay, rabbit litter
It also had some nitrogen stuff: rabbit poop, kitchen scraps
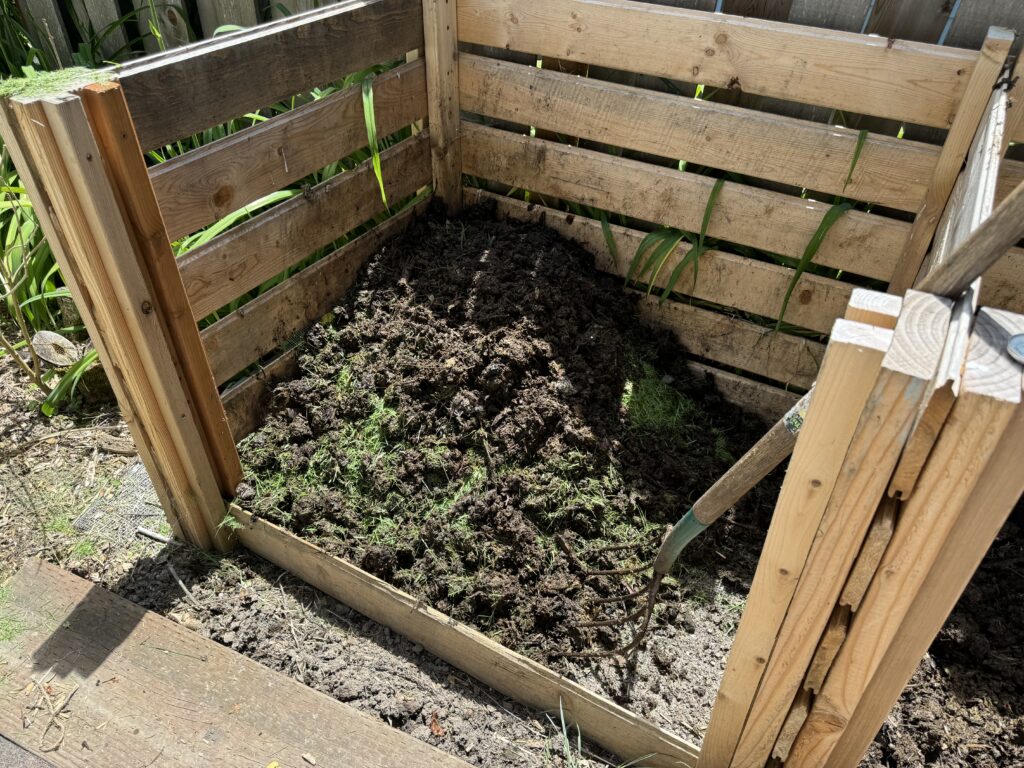
However, it needed much more nitrogen stuff. And air. So that was my next task. Enter: grass clippings.

Fun fact: due to rapid growth, favorable conditions, and higher availability of nitrogen in the spring, grass clippings have the highest nitrogen concentration in the spring. So those first few lawn mows in the spring have the best clippings to add to the heap.
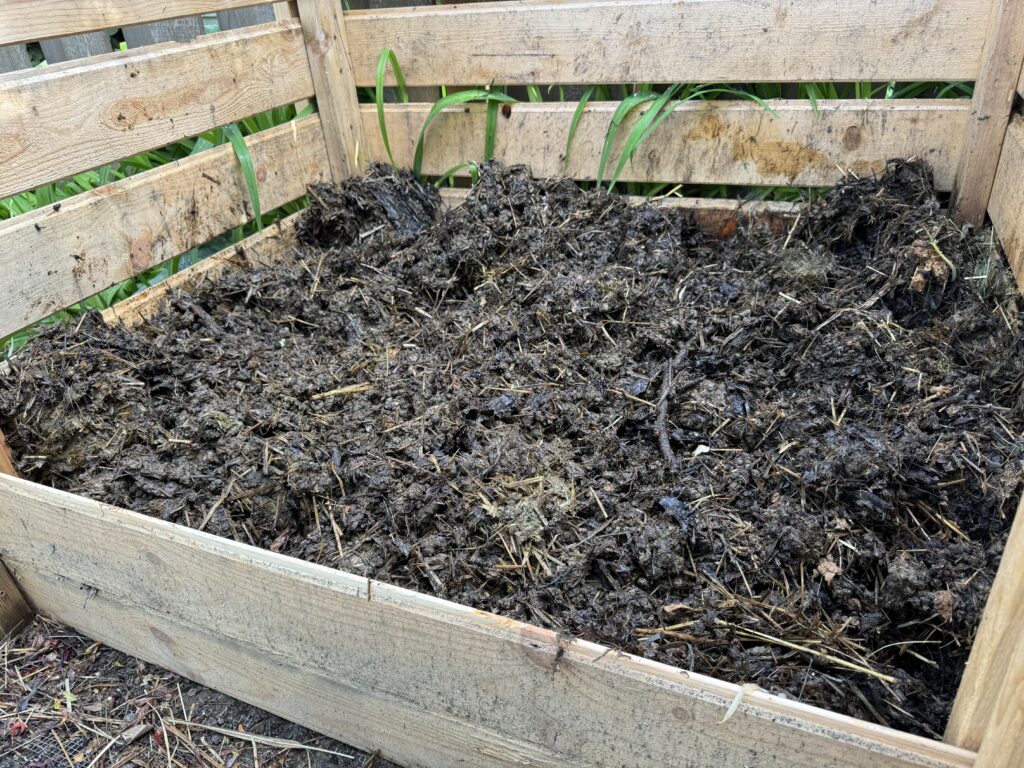
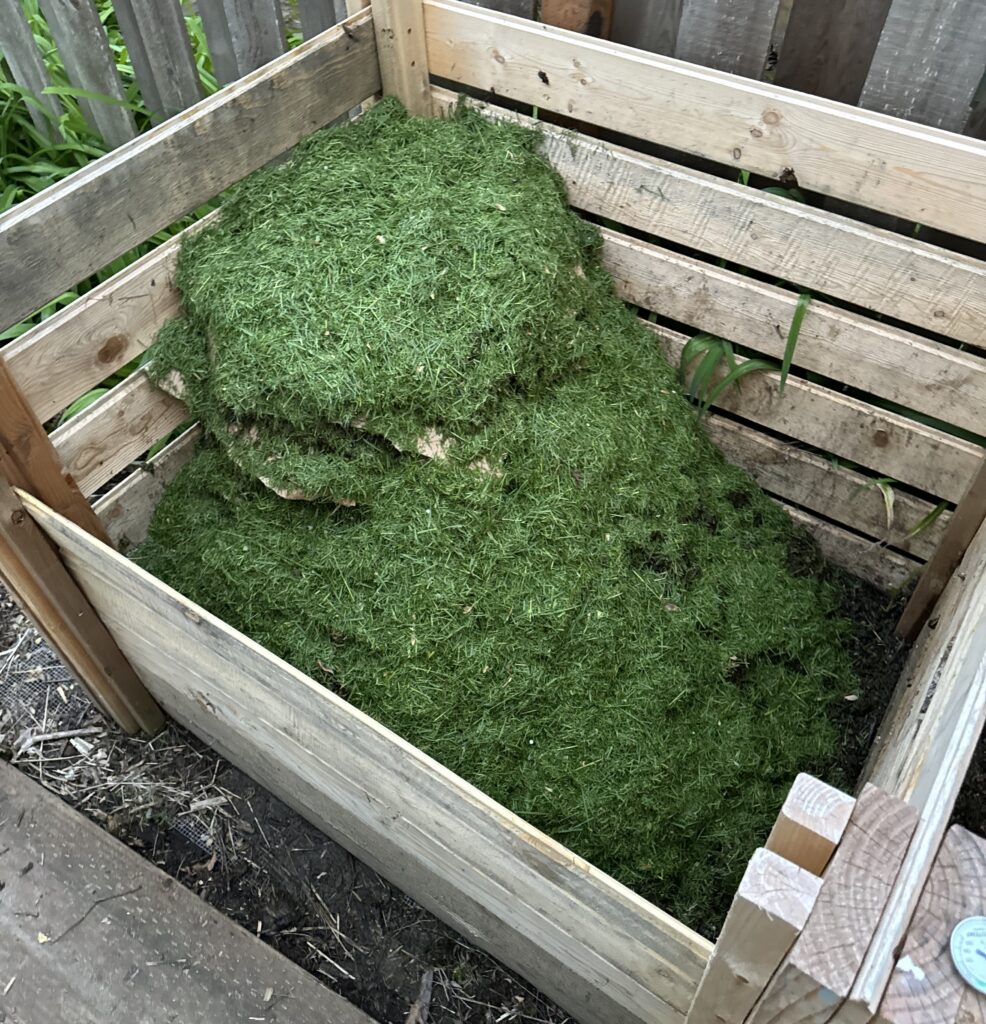
The pile then received a huge boost of these clippings, as well as crumpled paper and cardboard boxes to add new carbon/nitrogen mixtures and generate better airflow in and around the existing stuff. I layered these materials to build the pile back up.
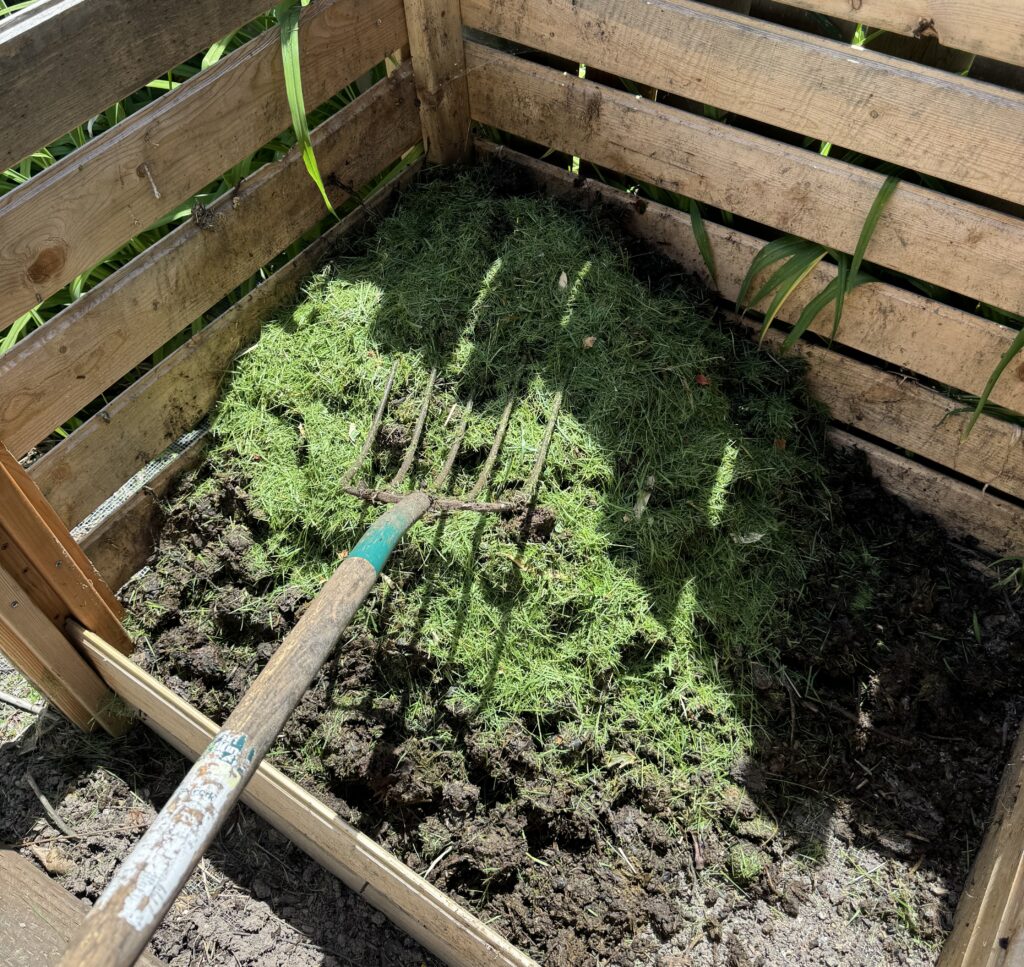
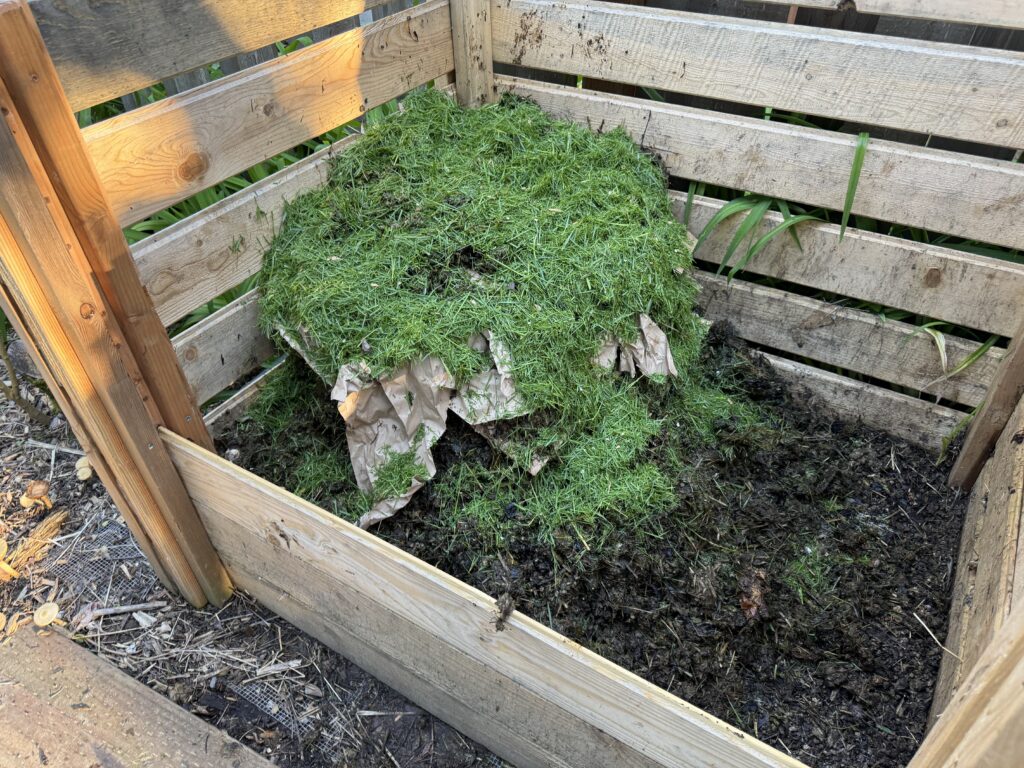
Ultimately I ended up with an Oscar the Grouch-looking heap. Not pictures is the kitchen scraps that I tried to plop in the middle of the pile for a nice core of extra nitrogen and nutrients.
Phase 3: Final Morphing
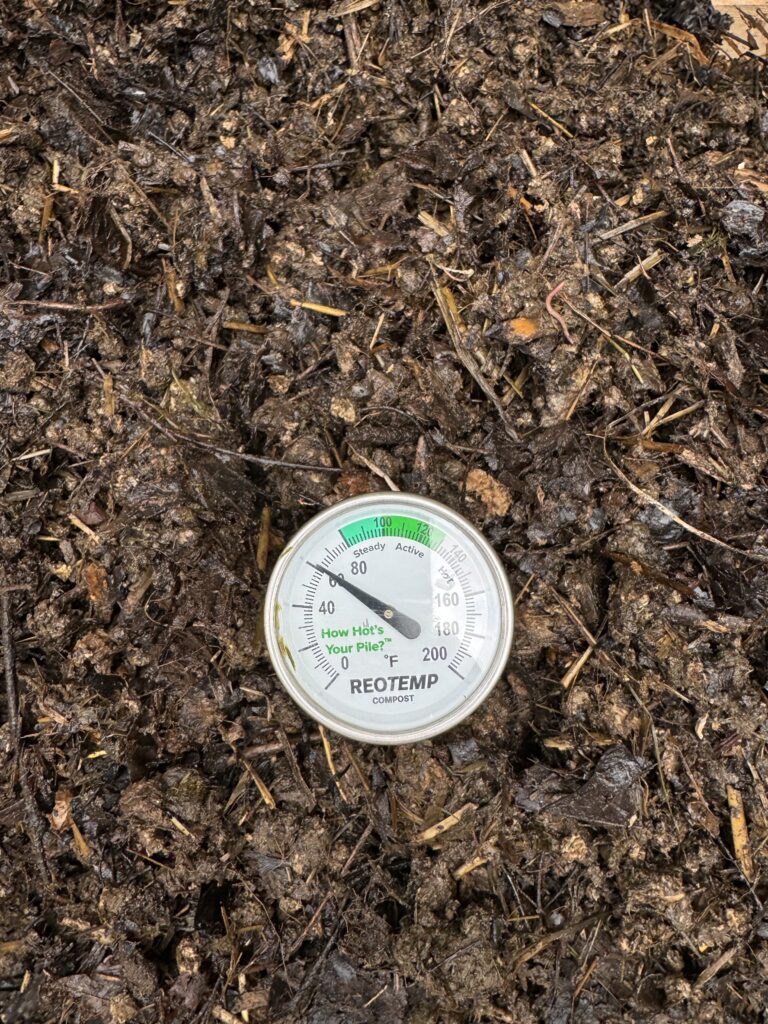
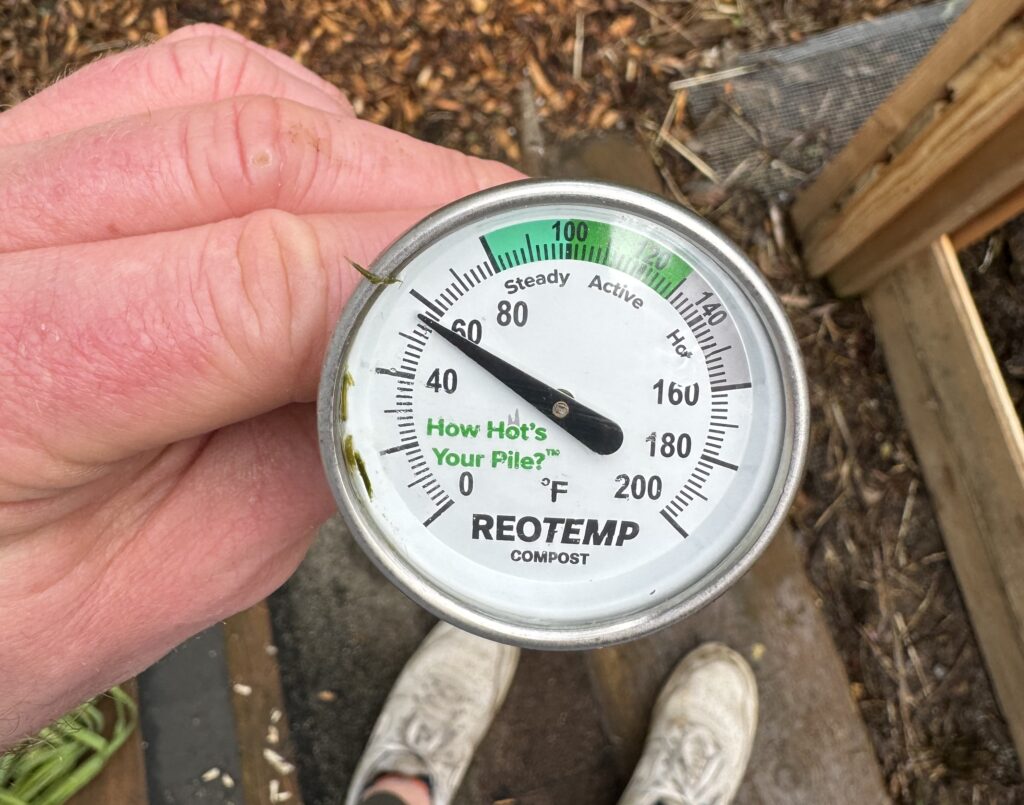
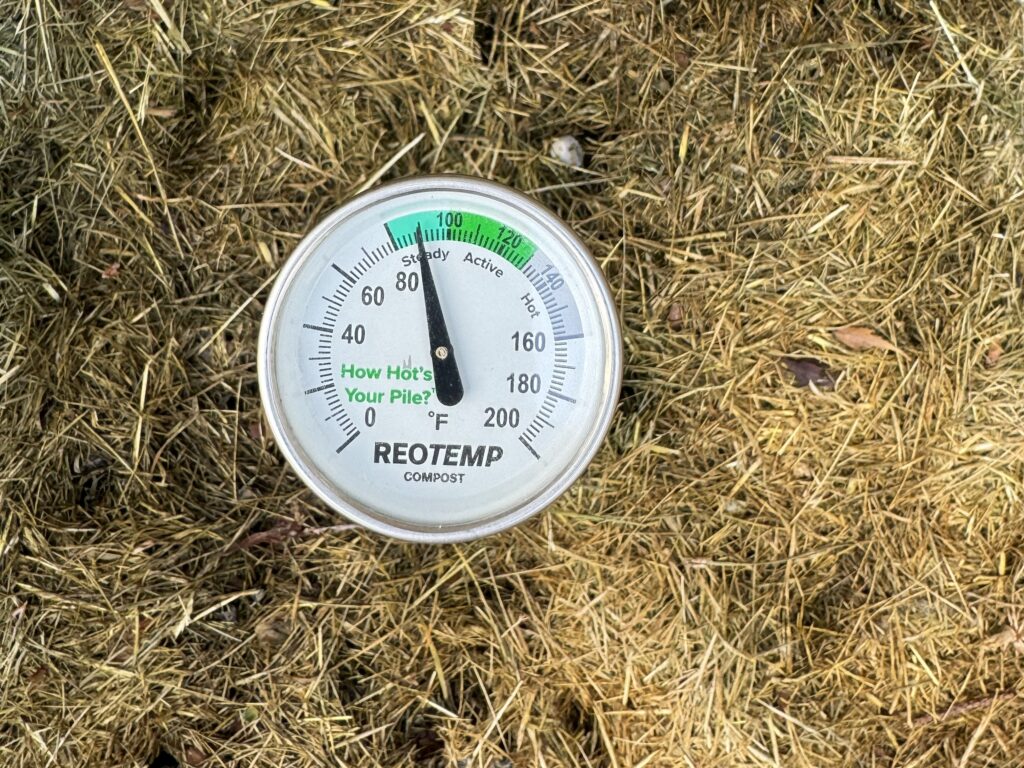
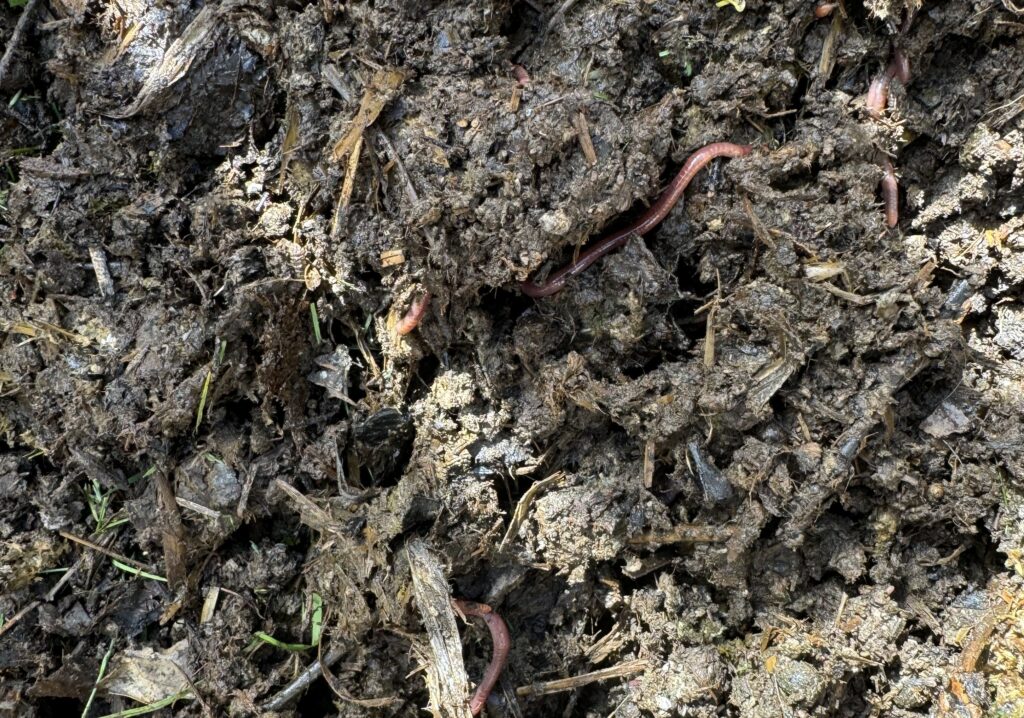
This ended up working wonders as the pile started to break down and heat up throughout the course of the next couple weeks. Along with checking temperature, other indicators that composting was going better was the dissipating bad smells and the influx of red worms that moved in to consume their smorgasbord of goodies.
On one hand, compost looks and sounds boring. It’s a brown pile of junk. It’s not exactly the first topic you should bring up at a party when someone asks you what you do for fun. However, and I don’t really have a non-nerdy way of saying this, there’s something pretty magical about watching a heap of raw materials break down into a form that looks nothing like when it began. It’s a real live look of nature at work!
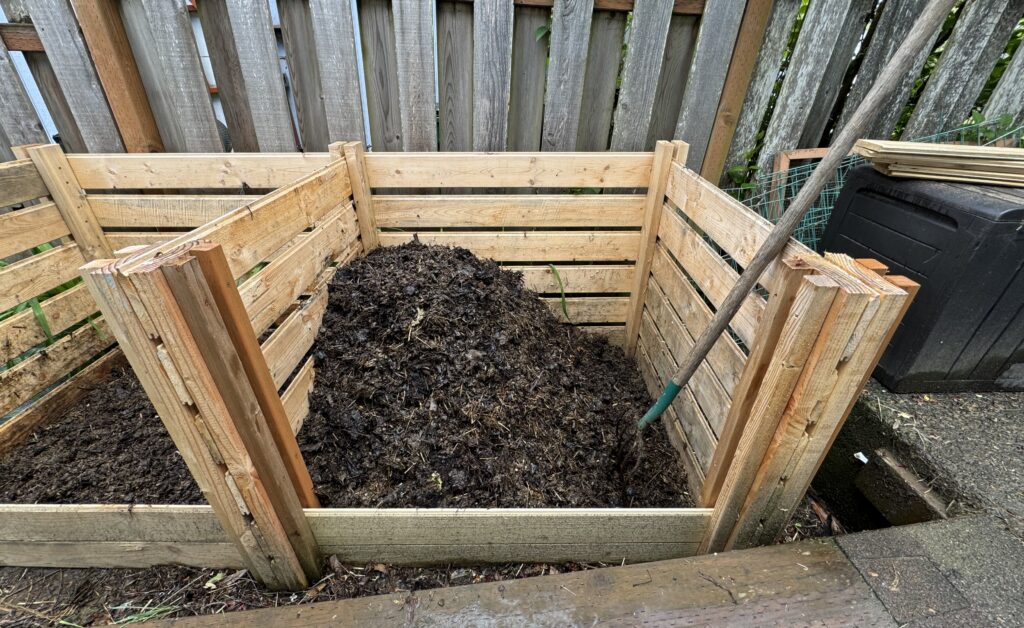
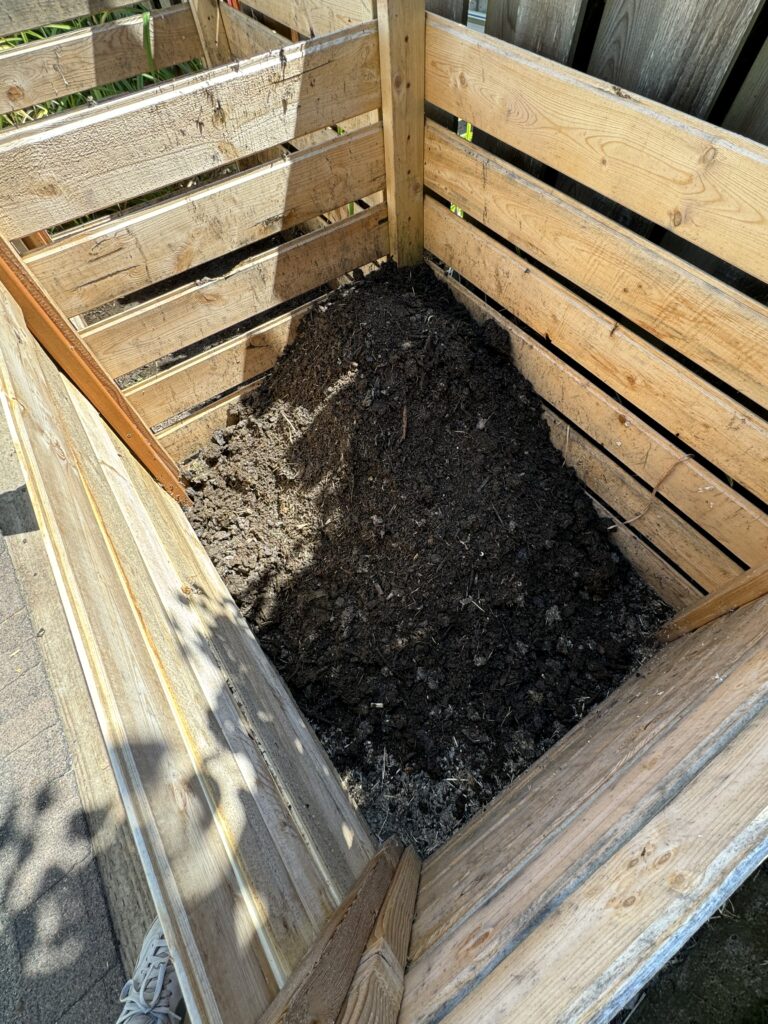
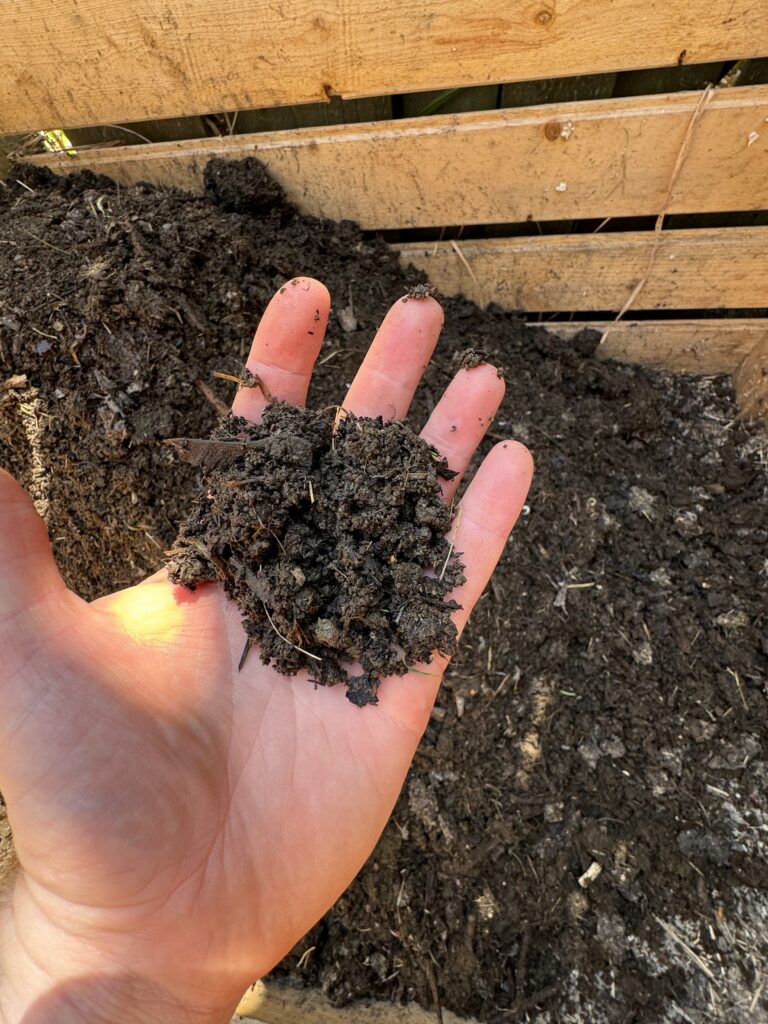
Fast-forward a month or two (with the help of a couple more turns of the pile from one bin into the other to keep generating air flow), there were no longer any signs of cardboard boxes, paper or grass. The pile had decomposed and shrunk into … finished compost!
Year 1: Take-aways & Lessons Learned
Overall, the entire process of my first attempt at making compost took from November of last year until about July of this year. This achieved my mission of having some compost to layer onto all the raised beds to start improving the health of the soil in the raised beds. That said, there were a few things learned through experience and readings that I plan on taking with me into year 2’s composting process.
#1: Homemade Compost Trumps All
Why? You’ll know what’s in it.
Municipal compost is great in a pinch, but it comes with risks. Mainly, you can’t guarantee what’s in it. When I started my raised beds, I wanted to add compost into the soil to get things started but I didn’t have any. So, I bought bagged compost from the store. Here’s what I found in just one bag of it:
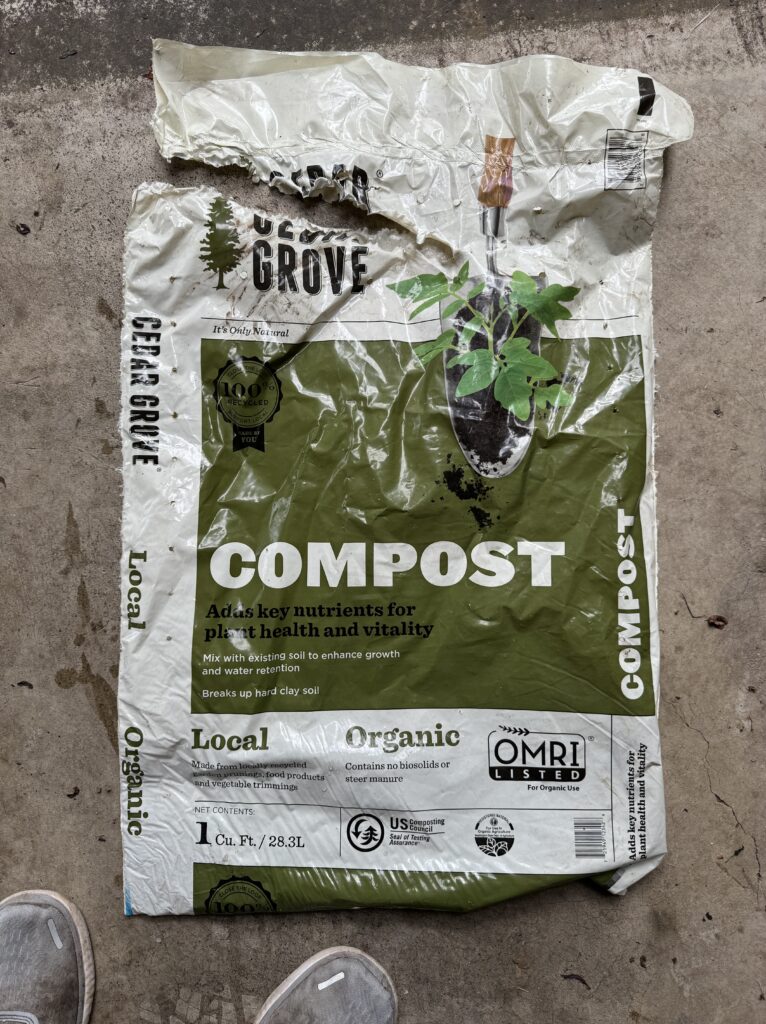
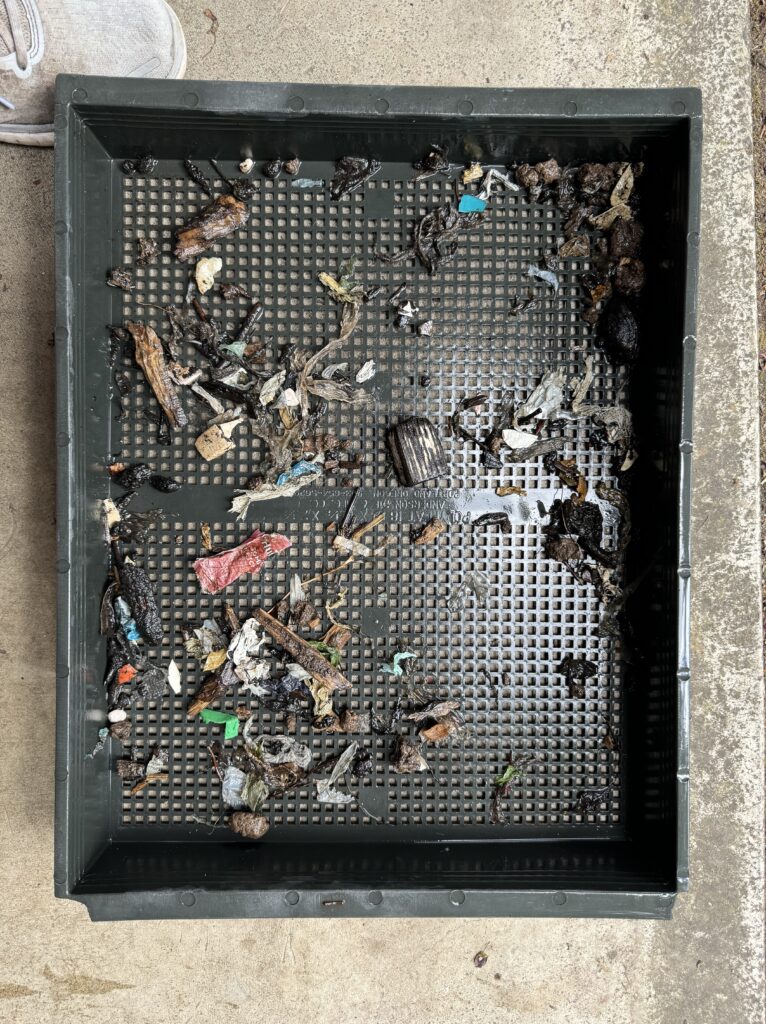
Not all bags contain this much trash, but the moral of the story is you just don’t know. Municipal compost can’t guarantee everything that’s composted is proper. On top of this, in order to mass produce it and compost large quantities of it, large-scale composting centers utilize very hot and very rapid methods of breaking down materials, which can kill a lot of the good micro-stuff that soil benefits from.
Hence, if you’ve got the room and desire to make it, do it! And if you have to or want to buy bagged compost, I recommend sifting it through some kind of garden sieve to prevent directly putting trash into your soil which just feels bad.
#2: Shred Your Leaves
Why? To prevent anaerobic breakdown.
The main source of the stink and sludge that took over my heap in the first half of the process was from a lack of air flow. Lack of oxygen in a heap stems from materials and an environment that doesn’t encourage it. These materials are most often leaves and grass clippings which both tend to mat. This year, I plan to shred our autumn leaves rather than just dumping the leaves whole in the pile. I’ll either use the lawn mower, or put whole leaves in a trash bin and weed-wack them. When putting grass clipping in the heap, it’s best to layer them between other things (like cardboard, crumpled paper, etc.) as they also tend to mat when freshly cut and wet.
Also, make sure to turn a heap over every so often, as the pile itself encourages anaerobic activity as it decomposes onto itself, thereby shrinking and reducing the overall airflow.
#3: Add Soil
Why? To help create humus.
This is something I read about after building the pile, but supposedly adding a thin layer of soil to a compost heap does wonders to help create the mysterious and magical humus structures in your heap that I coin as soil’s “super food”. Humus is hard to summarize, but I encourage anyone to research it more. It’s still not fully understood in the science world.

Compost by itself is still fantastic for soil, but with a bit of soil added, the qualities, compounds and organic material in natural soil when combined with compost help to generate humus. I plan on adding a few shovels of soil to this year’s heap when I start to build up the pile.
#4: Cover Your Compost
Why? To prevent leaching.
Without experience in the composting world, this is more of a theoretical takeaway until more experience is gained. I did not cover my compost pile with a tarp or anything throughout the winter. From what I’ve read, this isn’t great (especially in the pacific northwest) as rain can leach away nutrients in the pile (so they say). When I started I just figured compost needed to be moist to encourage breakdown so it was fine to just leave it exposed. However, this year I plan on covering the heap and watering it manually if/when needed. Leaving it uncovered was also a contributing factor to it’s anaerobic breakdown since wetness also leads to a lack of oxygen in the pile. Lesson learned.
Conclusion
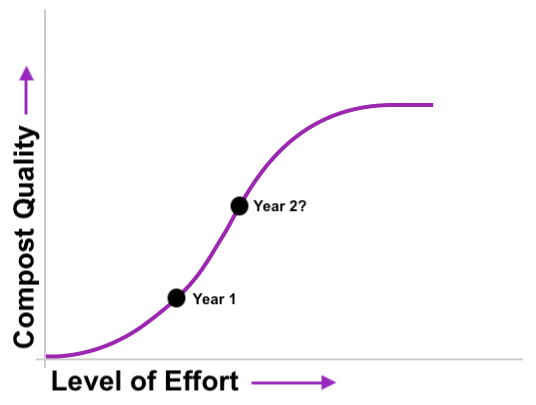
When it’s all said and done, any compost is better than no compost. Store bought municipal compost is better than no compost. Compost that undergoes anaerobic compost is better than no compost. Nevertheless, better compost is, well, better for the soil and ultimately the plants they grow. Some folks can really nerd out on making compost, but it can be as simple or complex of a process as desired. I like to think with the above changes, I’ll make a leap forward somewhere around here:
It was a decent amount of work making the compost bins, babysitting and turning the heap throughout the last 9 months, but now that we’ve got a good little pile of cured compost it all feels worth it. I’m excited to get the year 1 pile distributed in the beds this fall!
Until next time,
– AA
Leave a Reply